
To give your tights a high-fashion look, start by choosing stretchable fabrics and selecting rhinestones that match your style. Plan your design carefully, using stencils or sketches to guarantee symmetry and balance. Use a fabric-safe adhesive or hotfix tool to securely attach your rhinestones, focusing on even distribution or focal points. Afterward, handle your embellished tights gently, wash carefully, and inspect regularly to keep your sparkles looking stunning—more tips await as you continue.
Key Takeaways
- Select stretchable fabrics and plan a symmetrical or asymmetric rhinestone pattern for a stylish high-fashion effect.
- Prepare tights by washing and drying thoroughly to ensure a smooth, clean surface for embellishment.
- Choose suitable fabric-safe, heat-activated hotfix adhesives for secure, flexible rhinestone attachment.
- Apply rhinestones carefully, focusing on even distribution and focal points to create visual interest.
- Maintain your embellished tights by hand washing gently and inspecting for loose stones regularly.

Jansport JS0A2SDD7S1 Cool Student Laptop Backpack Coconut 15 inches
Ergonomic S-Curve padded shoulder straps
As an affiliate, we earn on qualifying purchases.
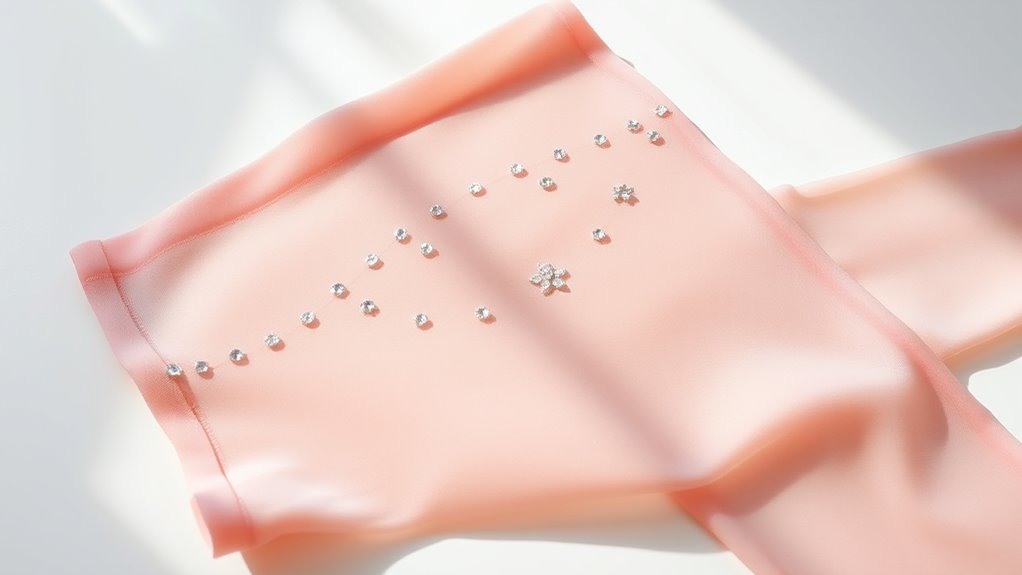
Gathering Your Supplies and Planning Your Design

Before you begin embellishing your tights, it’s essential to gather all the supplies you’ll need and plan your design carefully. Start by considering fabric types—choose tights made from smooth, stretchable materials like nylon or spandex for easy rhinestone adhesion. Think about color coordination; pick shades that complement your wardrobe or create a bold contrast. Decide on a design theme or pattern, whether it’s a simple line of rhinestones or intricate motifs. Gather rhinestones in your preferred sizes and colors, along with the necessary tools like glue and applicators. Laying out your design on paper or directly on the tights helps visualize the final look. Proper planning ensures your embellishment process is smooth, accurate, and results in a stunning, high-fashion finish. Additionally, understanding precious metals assets can inspire creative design choices that emulate luxurious aesthetics.
Amazon Product B0C5SQM2SX
As an affiliate, we earn on qualifying purchases.
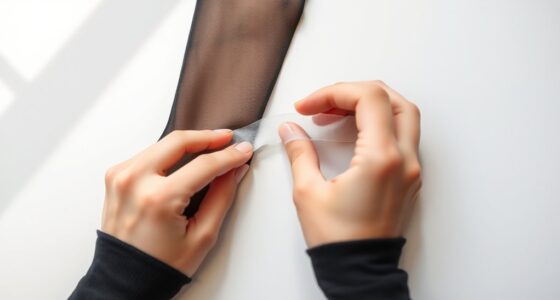
Preparing Your Tights for Embellishment
Before adding rhinestones, make sure your tights are clean and completely dry to guarantee good adhesion. Select a reliable rhinestone adhesive suited for fabric and plan your design layout carefully. This preparation helps your embellishments stay secure and look professional. Ensuring the proper surface preparation of your tights enhances the overall color accuracy and durability of your design.
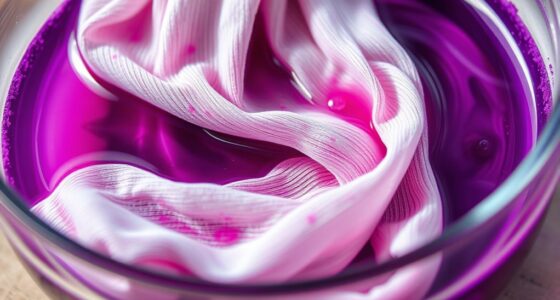
Clean and Dry Tights
To guarantee your embellishments stay securely in place, it’s essential to start with clean, dry tights. Wash them using a gentle laundry detergent to remove oils and residues that could prevent the adhesive from sticking. Avoid fabric softeners, as they leave a coating that can interfere with adhesion. After washing, lay your tights flat to air dry completely; avoid wringing or using a dryer, which can cause stretching or damage. To illustrate, consider these factors:
| Step | Tip | Result |
|---|---|---|
| Washing | Use mild laundry detergents, skip fabric softener | Clean surface for better grip |
| Drying | Air dry thoroughly | Prevent moisture interference |
| Preparation | Ensure tights are flat and smooth | Even surface for embellishment |
Following these steps ensures your rhinestone application will last beautifully. Additionally, ensuring your tights are free of any residual moisture is crucial for optimal adhesion of the rhinestones, especially if you plan to use adhesive products.
Choose Rhinestone Adhesive
Selecting the right rhinestone adhesive sets the foundation for a durable, professional-looking embellishment. With various rhinestone types available, such as hotfix, flatback, and sew-on, you need an adhesive suited to your specific rhinestones. Hotfix adhesives are ideal for heat-activated rhinestones, providing a strong bond with minimal effort. For other types, choose a fabric-safe adhesive that ensures adhesive safety, preventing damage or discoloration to your tights. Always read the label to confirm it’s compatible with stretchy fabrics and delicate materials. Testing a small area first helps ensure the adhesive bonds well without compromising the fabric. Using the proper adhesive guarantees your rhinestones stay securely in place and maintains the high-fashion look you’re aiming for. Regular use of appropriate adhesives can also help in exfoliating dead skin cells, ensuring your embellishments stay smooth and secure over time.
Plan Your Design Layout
Have you ever considered how your design will flow across the tights? Planning your layout is essential for a polished look. Start by examining the fabric textures—smooth, matte, or shiny tights can affect how rhinestones catch the light. Decide whether you want a symmetrical pattern or an asymmetrical design to create visual interest. Use light pencil marks or adhesive outlines to sketch your pattern, ensuring your design complements the tights’ color coordination. Consider the placement of larger versus smaller rhinestones to balance the overall aesthetic. Think about how the design will flow from the ankle to the thigh, maintaining harmony across different fabric textures. Proper planning prevents mistakes and helps you achieve a cohesive, high-fashion finish. Additionally, understanding your personality traits can enhance your creative process and confidence in executing your design.

adidas Excel 7 School Backpack for Laptop, Gym and Travel, 34L
BUILT FOR THE BUSY DAY: Two main zip compartments plus two smaller pockets keep textbooks, binders, a 16-inch...
As an affiliate, we earn on qualifying purchases.
Applying Rhinestones: Techniques and Tips

When applying rhinestones, choose ones that suit your fabric and style, and pick an adhesive that provides a strong, flexible hold. Pay attention to how you arrange the stones to create a balanced, eye-catching design. With the right techniques, your embellished tights will look professional and polished. For added durability, consider the adhesive’s safety and ensure it is suitable for delicate fabrics.
Selecting Suitable Rhinestones
Choosing the right rhinestones is essential for achieving a polished look on your embellished tights. You need to contemplate fabric textures and color coordination to ensure a seamless design. Select rhinestones that complement the tights’ material—crystal for smooth fabrics, or matte for textured ones. Matching rhinestones’ colors with your tights creates harmony, while contrasting hues add vibrancy. Here’s a quick guide:
| Fabric Texture | Rhinestone Type | Color Coordination |
|---|---|---|
| Smooth satin | Clear or AB | Same or subtle shade |
| Textured lace | Satin or pearl | Complementary tones |
| Mesh | Metallic or colored | Bold contrasts |
| Velvet | Matte rhinestones | Neutral or dark hues |
| Leather | Gunmetal or opaque | Dark shades |
Choose wisely to elevate your high-fashion look. Additionally, considering rhinestone placement can significantly enhance the overall aesthetic and ensure a professional finish.
Using Appropriate Adhesive
Selecting the right adhesive is crucial to guarantee your rhinestones stay securely in place on your tights. Consider the fabric texture, as some adhesives bond better to smooth satin or matte nylon than textured or stretchy fabrics. The rhinestone size also influences your choice; small stones may need a fine-tip glue, while larger ones require a stronger, more durable adhesive. Using spiritual principles such as patience and care during application can help achieve a more polished and enduring result. – Use fabric-specific glue for flexibility and longevity – Opt for a clear-drying adhesive to keep the design neat – Avoid overly thick glues that can seep under stones – Test the adhesive on a small fabric area before full application
Choosing the proper adhesive ensures your embellishments stay secure, maintaining a high-fashion look without damage or detachment.
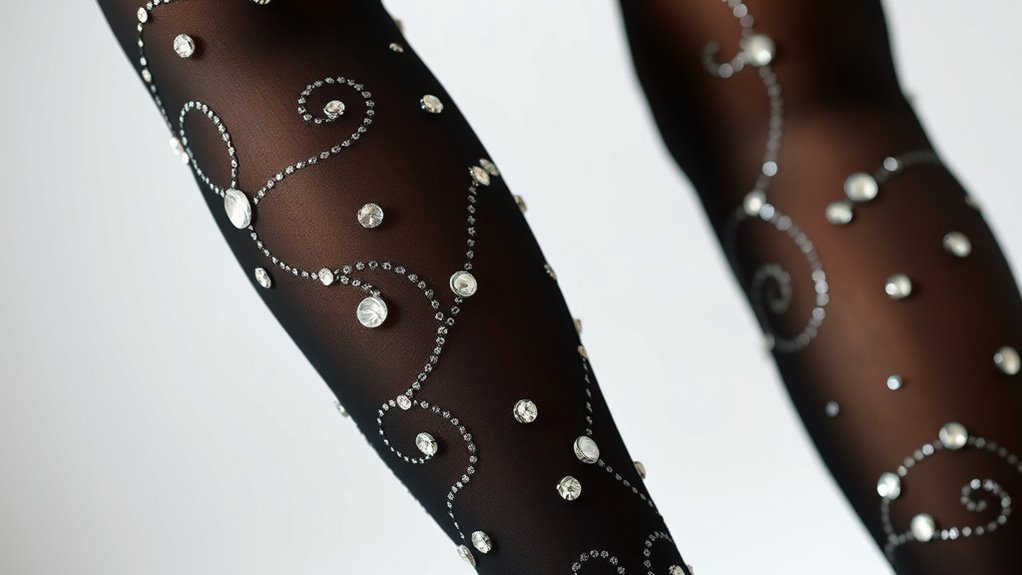
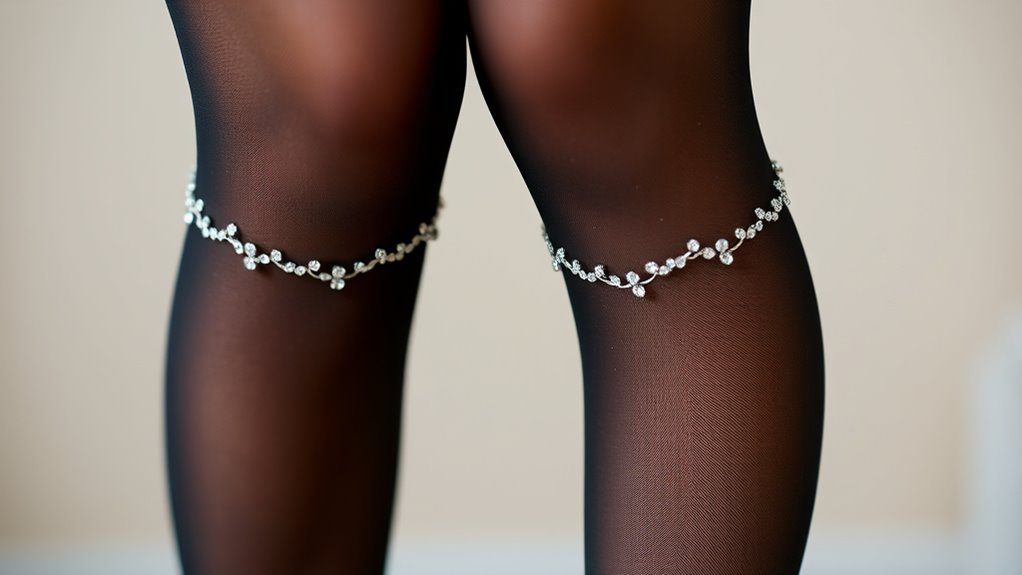
Arranging for Balance
To achieve a visually balanced and harmonious design, it’s essential to plan your rhinestone placement carefully. Start by considering the overall pattern and flow you want to create. Use color coordination to select rhinestones that complement your tights and outfit, ensuring no single area feels overly crowded or sparse. Distribute the rhinestones evenly, focusing on symmetry or intentional asymmetry to enhance visual harmony. Think about focal points—perhaps a cluster at the ankle or along the side seam—while maintaining a cohesive look. Remember, spacing matters; avoid overcrowding, which can disrupt balance. Taking the time to arrange your rhinestones thoughtfully results in a polished, high-fashion appearance that draws attention without feeling chaotic. Incorporating visual balance principles can further elevate your design and ensure a professional, stylish finish.

LOVEVOOK School Backpack for Girls, 15.6 Inch laptop Backpacks with Large Capacity Tumbler Holder, Lightweight College bag for women, Cute Travel Teen Bookbag Purse for Students,Off white-Pink
【Sporty Vibe & DIY Personalized Style】: Inspired by youthful student energy, this teen girl's backpack features a bold...
As an affiliate, we earn on qualifying purchases.
Creating Unique Patterns and Styles
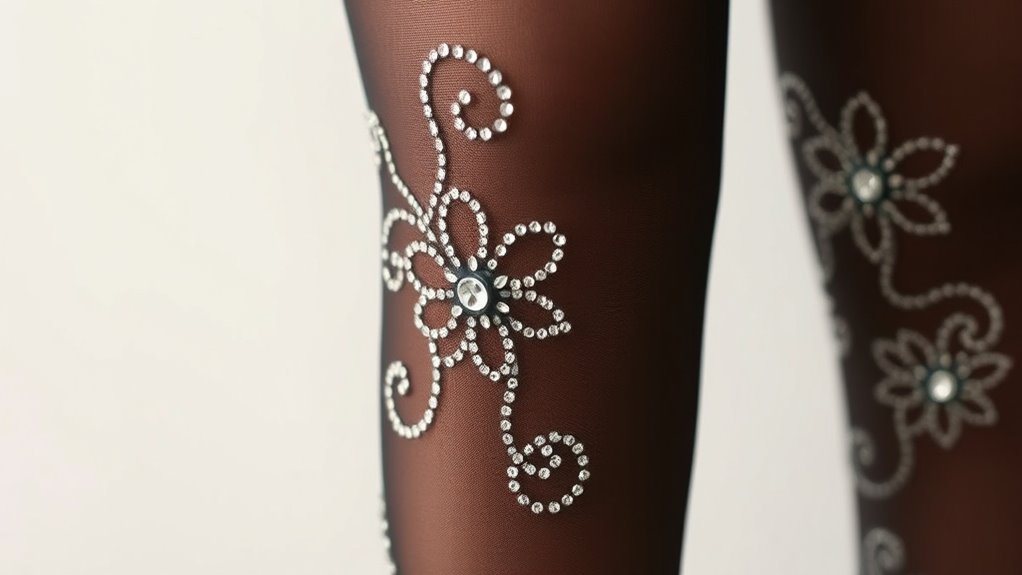
Creating unique patterns and styles with rhinestone-embellished tights allows you to express your personality and creativity. To achieve this, consider your fabric choices carefully; different materials can affect how the rhinestones adhere and shine. Play with color coordination by selecting rhinestones that complement or contrast with your tights for striking effects. For intricate designs, sketch your pattern first to ensure consistency. You can create geometric shapes, floral motifs, or abstract art—whatever reflects your style. Using stencils or templates can help maintain symmetry. Remember, mixing textures and hues adds sophistication and depth. Experimenting with placement and patterns transforms plain tights into statement pieces, making your DIY project truly one-of-a-kind. Additionally, understanding fabric compatibility can help you select the best adhesives and rhinestones for a durable and flawless finish.
Securing the Rhinestones for Long-Lasting Shine

Ensuring your rhinestones stay securely attached is essential for maintaining their shine and preventing peeling or falling off over time. To achieve this, choose a high-quality adhesive that offers excellent rhinestone durability and adhesive longevity. Apply the adhesive carefully, using a small brush or applicator to target the back of each rhinestone. Press firmly and hold for a few seconds to set the stones firmly in place. Avoid overusing glue, which can seep out and cause uneven bonding. Keep in mind that proper application not only secures the rhinestones but also helps preserve their sparkle over time. For best results, allow the adhesive to fully cure before wearing or washing your embellished tights, ensuring long-lasting shine and durability.
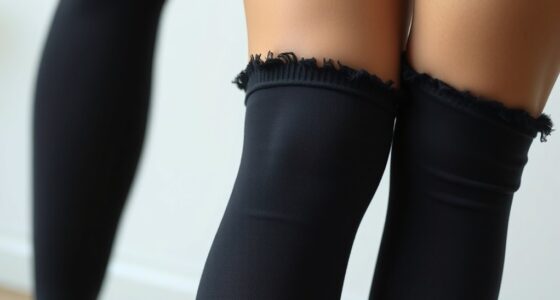
Caring for Your Embellished Tights and Maintaining Their Sparkle
Proper care is essential to keep your embellished tights looking their best and preserve their sparkle. To do so, consider the fabric choices and embellishment tools used during creation. Delicate fabrics like nylon or spandex require gentle handling, especially when washing. Always hand wash or use a lingerie bag on a gentle cycle, avoiding hot water. When storing, fold carefully to prevent rhinestones from loosening. Use precision embellishment tools to tighten loose stones promptly. Regularly inspect your tights for any signs of damage, and avoid rough surfaces that could snag the fabric.
- Store in a cool, dry place away from direct sunlight
- Use gentle detergents designed for delicate fabrics
- Avoid wringing or twisting the tights
- Repair loose rhinestones immediately with proper embellishment tools
Frequently Asked Questions
Can I Reuse Rhinestones From Previous Projects?
Yes, you can reuse rhinestones from previous projects. Rhinestone recycling is a great way to save money and reduce waste. To reuse, carefully remove the rhinestones, ensuring the adhesive or settings are intact. Use reuse tips like soaking them in warm water to loosen glue or gently scraping off old adhesive. Store them in a small container to keep them organized for future embellishments.
What Types of Adhesives Are Safest for Skin Contact?
Think of skin-safe adhesives as your gentle handshake in the craft world. You should choose non-toxic glues like medical-grade skin-safe adhesives or cosmetic glues, which are designed to stick without causing irritation. These glues are safe for contact with skin, ensuring your rhinestone embellishments stay put without any discomfort. Always patch-test first and follow the manufacturer’s instructions to keep your DIY project both fabulous and safe.
How Do I Remove Rhinestones Without Damaging the Tights?
To remove rhinestones without damaging your tights, gently peel them off starting from the edges. Use your fingers or a pair of tweezers, being careful not to pull too hard. For stubborn spots, apply a small amount of warm water or adhesive remover around the rhinestones and let it sit. This approach guarantees proper rhinestone removal and keeps your tights in good condition, simplifying tights care afterward.
Are There Eco-Friendly Options for Rhinestones?
Seeking sustainable, stylish sparkle? You’re in luck! Eco-friendly options for rhinestones include those made from sustainable materials like glass, resin, or recycled plastics. Many eco-conscious brands now offer dazzling rhinestones that save the planet while shining bright. Look for labels emphasizing eco-friendliness and ethical sourcing. By choosing these greener glitz options, you can glam up your tights guilt-free, giving your look a luxurious, environmentally responsible edge.
Can I Embellish Different Types of Fabrics Besides Tights?
Yes, you can embellish various fabrics beyond tights. Consider fabric compatibility when choosing your rhinestones and embellishment techniques, as some materials like silk or velvet may require different adhesives or methods to prevent damage. For sturdy fabrics like denim or canvas, you can use strong glue or sew the rhinestones. Always test on a small area first to ensure your embellishments stay securely and don’t harm the fabric.
Conclusion
Now, your once-simple tights have transformed into a stunning fashion statement, blending everyday comfort with high-end glamour. It’s a playful contrast—crafting luxury from the ordinary, turning plain into mesmerizing art. With your creative touch and a few rhinestones, you’ve achieved a look that’s both unique and daring. So, embrace the sparkle, enjoy the process, and confidently strut your personalized style—because sometimes, the simplest ideas shine the brightest.