
To repair ladder snags, start by inspecting the ladder thoroughly to identify frayed ropes, loose steps, or damaged rungs. Prepare your workspace by clearing clutter and wearing safety gear. Fix frayed ropes with clamps or adhesive, tighten or replace loose steps, and carefully remove and replace broken rungs. Regularly inspect and maintain your ladder to guarantee safety and durability. Continue with these techniques to master effective ladder repairs and prevent future issues.
Key Takeaways
- Conduct a thorough inspection to identify all damaged or loose parts before starting repairs.
- Use appropriate tools and replacement parts based on ladder material (wood, metal, or fiberglass).
- Secure frayed ropes with heavy-duty clamps or outdoor adhesive; tighten or replace loose fasteners on steps.
- Carefully remove damaged rungs or components, ensuring no harm to adjacent parts, then install new ones securely.
- Perform a post-repair inspection, tightening all bolts, checking stability, and ensuring the ladder is safe for use.
Identifying Common Ladder Snags and Their Causes

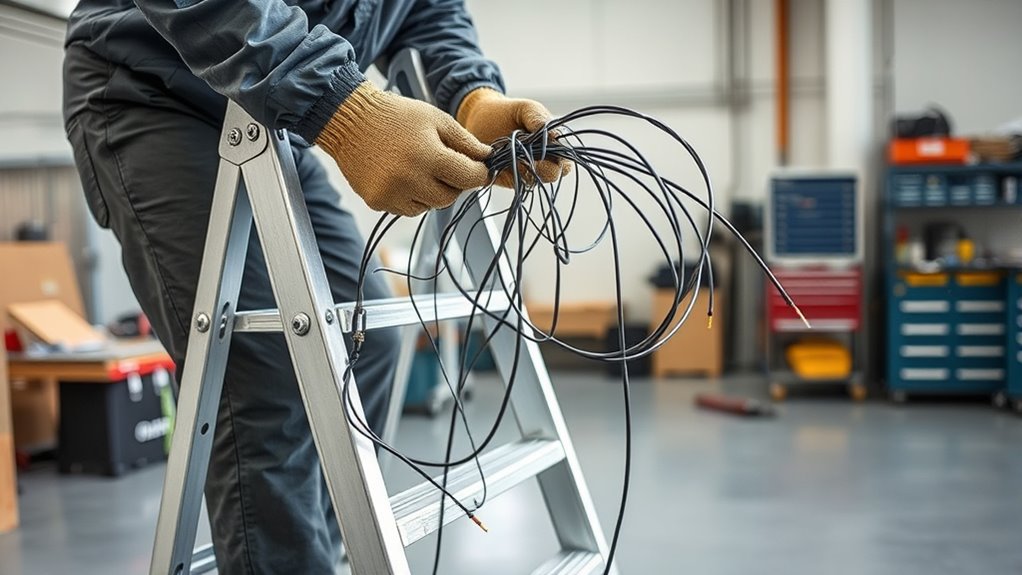
Ladders can develop snags that hinder their safe and effective use, often caused by common issues such as frayed ropes, bent or broken rungs, and worn-out hinges. The ladder material plays a significant role in how these problems arise; metal ladders may corrode or bend, while wooden ones can crack or splinter. Proper storage solutions are essential for preventing damage—storing ladders upright in a dry, secure place reduces the risk of warping or rust. Regular inspections help you spot issues early, like loose hinges or worn-out rungs, before they become hazards. Understanding how ladder material and storage methods contribute to damage allows you to maintain your ladder’s integrity and safety, ultimately reducing the likelihood of snags developing over time. Additionally, integrating essential oils for maintenance into your routine can help preserve metal components from corrosion and reduce the buildup of grime.
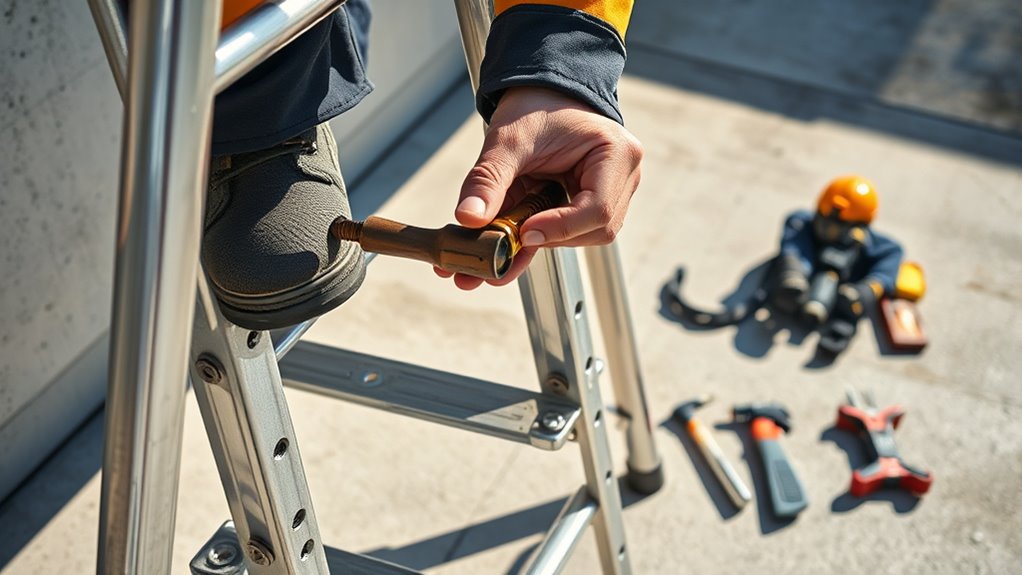
Preparing Your Workspace and Safety Gear
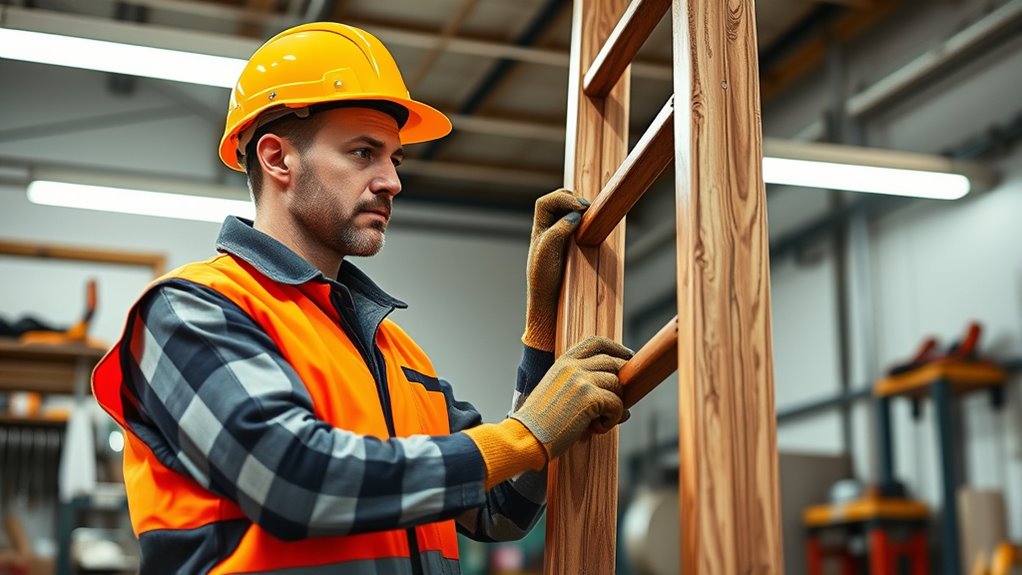
Before starting repairs, you need to prepare a safe and organized workspace. Clear the area around your ladder, removing clutter and tripping hazards. Use proper storage solutions to keep tools and supplies within reach but out of the way, preventing accidents. Guarantee the floor is stable and dry to avoid slips. Set up your ladder in a well-lit space, away from power lines or busy walkways. When it’s not in use, store your ladder properly—preferably on a designated ladder storage rack—to prevent damage and keep it accessible. Wearing the right safety gear, like gloves and eye protection, is essential to guard against injuries. A tidy, secure workspace sets the foundation for safe, efficient ladder repairs. Proper workplace safety measures ensure you can complete repairs with minimized risk of injury.
Step-by-Step Procedures for Fixing Frayed Ropes and Loose Steps
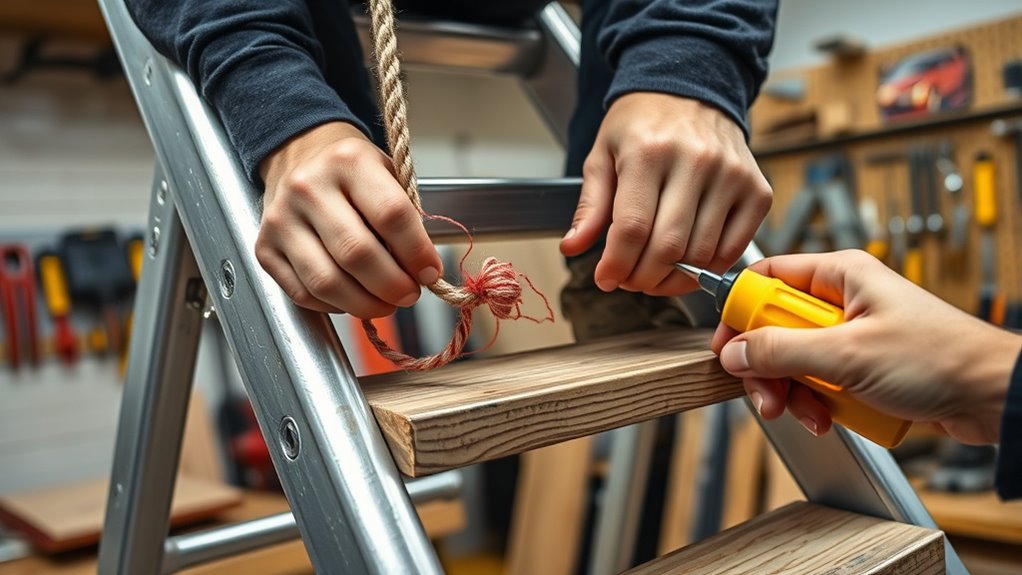
To effectively repair frayed ropes and loose steps, start by inspecting the ladder carefully to identify all areas needing attention. This step guarantees you’re aware of the damage and can plan your repairs efficiently. When fixing frayed ropes, choose the right tool selection, such as heavy-duty rope clamps or strong adhesive designed for outdoor use, to guarantee long-lasting results. For loose steps, tighten any existing bolts or replace worn-out fasteners with new ones that fit securely. Proper repairs not only restore safety but can also enhance your lifestyle by extending your ladder’s lifespan and reducing the need for frequent replacements. Taking these careful steps improves your overall safety and adds convenience, making ladder maintenance a simple yet crucial part of your home improvement routine. Regular maintenance and tips can prevent further damage and ensure your ladder remains safe for ongoing use.
Techniques for Replacing Damaged Rungs or Components
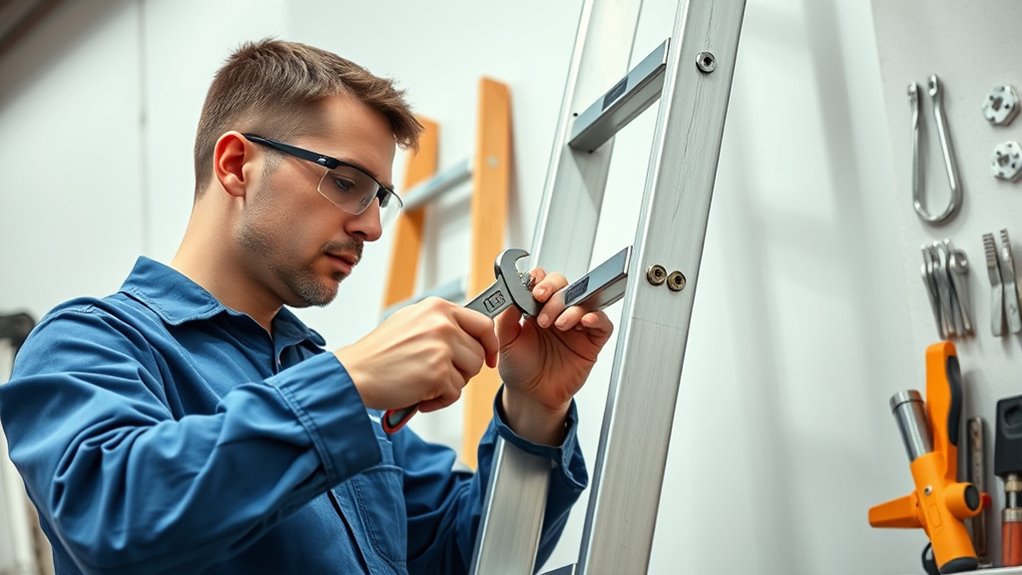
When replacing damaged rungs or components, start by carefully removing the broken parts. First, identify the ladder material—wood, aluminum, or fiberglass—as this influences your repair tools and methods. Next, gather the right tools: a wrench, screwdriver, replacement rung or component, and possibly a clamp. Here’s how to proceed:
- Loosen and remove any screws, nails, or bolts holding the damaged part.
- Use repair tools to detach the broken rung or component without damaging nearby sections.
- Fit the new rung or component securely into place, ensuring it matches the ladder material.
- Tighten all fasteners, double-check alignment, and test stability before use.
- Ensure the repair materials and methods comply with safety standards and manufacturer recommendations for proper maintenance to maximize safety and durability.
Following these steps ensures a safe, durable repair tailored to your ladder’s material.
Tips for Inspecting and Maintaining Your Ladder Post-Repair
After completing a repair on your ladder, it’s vital to regularly inspect and maintain it to guarantee safety and longevity. Start by checking for any signs of wear, corrosion, or loose components. Use proper storage solutions to keep your ladder protected from environmental damage, such as rain or excessive sunlight, which can weaken materials over time. Keep the ladder clean and dry, and perform paint touch-ups if you notice chipped or peeling paint to prevent rust. Regular maintenance also involves tightening bolts and inspecting rungs for stability. Storing your ladder properly ensures it remains in good condition and ready for use. Additionally, understanding the importance of ladder safety standards can help you follow best practices for maintenance and inspection, ensuring your ladder remains reliable and safe for use. By staying vigilant with inspections and timely touch-ups, you extend your ladder’s lifespan and ensure safe, reliable performance.
Frequently Asked Questions
How Often Should I Inspect My Ladder for Potential Snags?
You should follow an inspection schedule that includes checking your ladder for potential snags regularly, ideally before each use. Frequent inspections help you spot issues early, preventing accidents and ensuring snag prevention. By staying vigilant and maintaining a consistent routine, you keep your ladder safe and reliable. Don’t wait for damage to appear—regular checks are key to avoiding hazards and extending your ladder’s lifespan.
What Are the Best Materials for Ladder Repair Patches?
When choosing materials for ladder repair patches, opt for sturdy options like heavy-duty vinyl or reinforced fabric. These materials provide excellent ladder reinforcement and guarantee patch durability, helping your ladder withstand regular use. You should prioritize patches that adhere well and resist weathering. By selecting the right materials, you extend your ladder’s lifespan and ensure safety during every climb, making repairs more effective and long-lasting.
Can I Repair Ladder Snags Without Professional Tools?
You can often handle DIY fixes for ladder snags without professional tools by using everyday tool alternatives. For small snags, try using a sturdy needle or a pin to gently smooth out the fabric. You might also consider a strong adhesive or fabric patch as a quick fix. While these options work for minor issues, always guarantee safety and consult a professional for larger or more complex repairs.
How Long Do Ladder Repairs Typically Last Before Re-Inspection?
Your ladder’s repair longevity depends on how well you fix it, but typically, you should re-inspect it after about a month of heavy use. Proper repairs can dramatically boost ladder durability, making it last for years. Don’t forget, even the tiniest snag can weaken your ladder over time, so regular re-inspections are vital to guarantee its safety and keep your repairs holding strong for the long haul.
Are There Specific Safety Certifications for Repaired Ladders?
You should know that safety standards and certification requirements guide the safety of repaired ladders. While there aren’t specific certifications solely for repaired ladders, they must meet industry safety standards to be considered safe for use. Always check that repairs comply with local regulations and manufacturer guidelines. Proper certification guarantees the ladder maintains its integrity, reducing the risk of accidents and ensuring safe usage after repairs.
Conclusion
By following these repair techniques, you can keep your ladder safe and reliable. For example, imagine noticing frayed ropes on your extension ladder before a job; fixing them promptly prevents accidents. Regular inspections and proper maintenance guarantee your ladder stays in top shape, saving you time and money. Remember, a well-maintained ladder is key to your safety—don’t overlook small issues, as they can lead to bigger problems down the line.