
When you notice a run in your tights, start by evaluating its size and location, then gather your tools like a fine needle, matching thread, or clear tape. For small snags, secure them with delicate sewing or nail polish; larger tears benefit from patching with matching fabric and proper adhesive or sewing. Reinforce the area for extra durability and follow proper storage and care tips to extend their lifespan. Keep exploring these steps for more detailed guidance.
Key Takeaways
- Assess the damage size and fabric type to determine suitable repair methods.
- For small runs, reinforce with matching thread, tape, or clear nail polish to prevent spreading.
- For larger tears, use patches that match fabric and sew or glue securely for seamless repair.
- Gently clean and flatten the area before repairing to ensure proper adhesion and neatness.
- Store and care for tights properly, including gentle washing and flat storage, to prevent future runs.

40PCS Tire Repair Rubber Nail, Vacuum Tire Repair Kits Spiral Rubber Nails, Tire Screw Plug Fast Tool Self Service Tire Repair Nail for car, Motorcycle, Truck, Tractor Tire Puncture Repair
High Quality: Our self-service tire repair screws are made of premium rubber materials, No aging and can withstand…
As an affiliate, we earn on qualifying purchases.
As an affiliate, we earn on qualifying purchases.
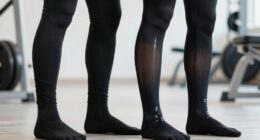
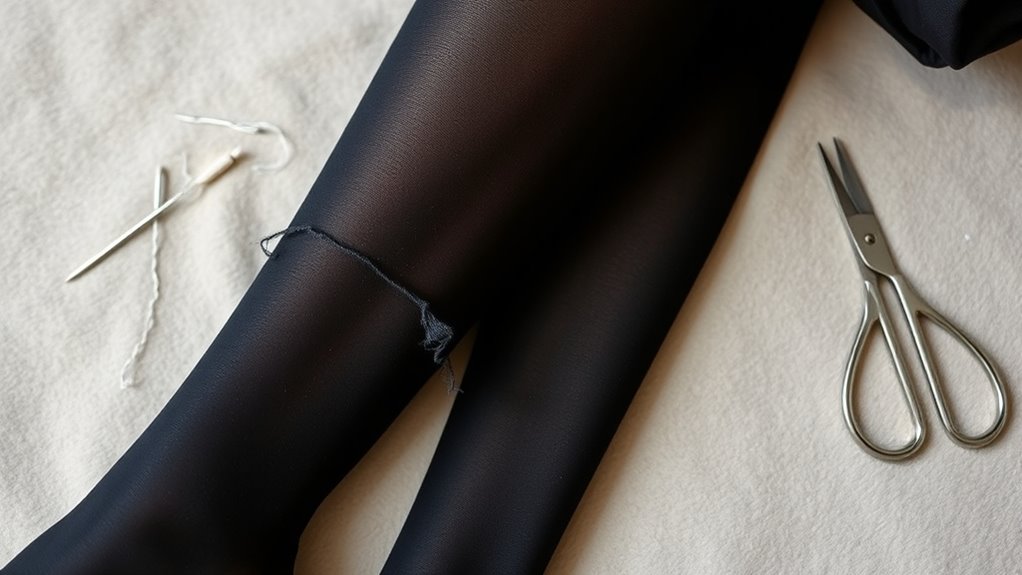
Assessing the Damage and Gathering Your Tools
Before you begin cleaning, take a moment to evaluate the extent of the damage and gather the necessary tools. Judging the fabric types is essential since delicate materials like nylon or lace require gentle handling, while sturdier fabrics like spandex can withstand more. Check the size and location of the run to determine your repair approach. When selecting tools, gather a fine needle, matching thread or clear sewing repair tape, scissors, and a color-matching pen if needed. Proper color matching is crucial to ensure your repair blends seamlessly, especially with patterned or colored tights. Understanding the fabric composition can help you choose the most suitable repair method and avoid further damage. By carefully examining the damage and collecting the right tools, you’ll set yourself up for a smooth, effective fix without causing further harm to your tights.
sewing kit for tights
As an affiliate, we earn on qualifying purchases.
As an affiliate, we earn on qualifying purchases.
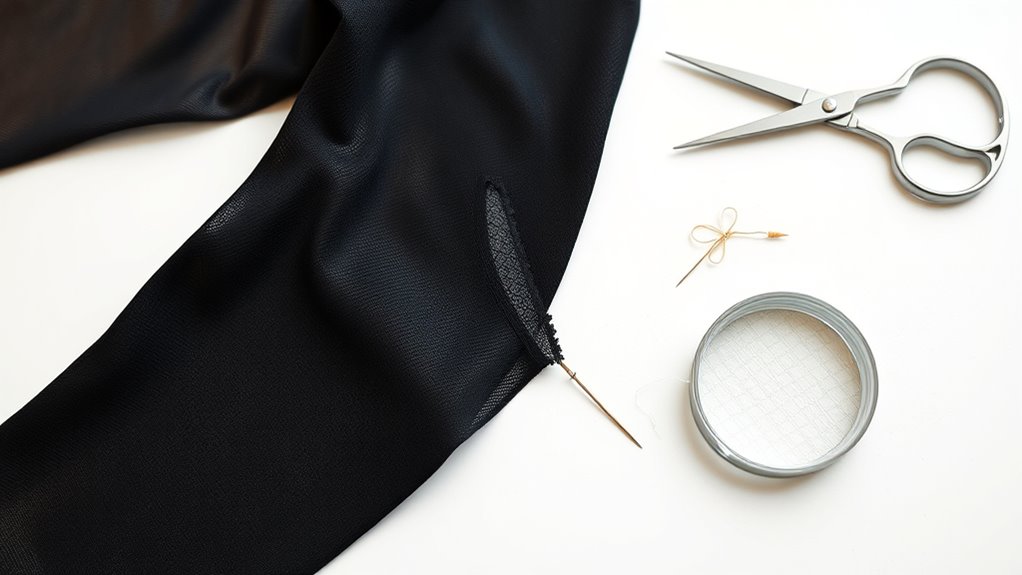
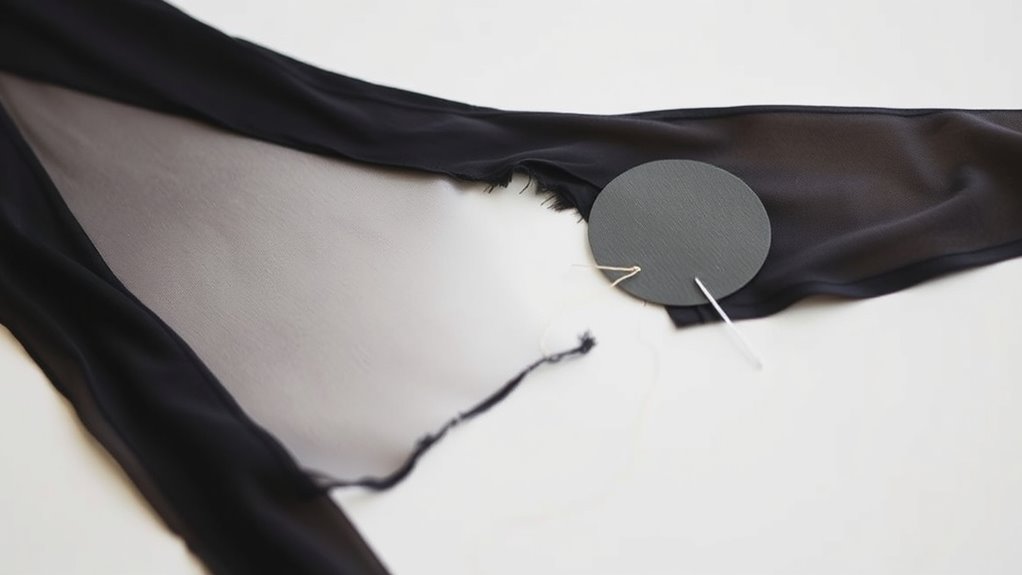
Preparing Your Tights for Repair

To guarantee a successful repair, you need to prepare your tights properly. Start by gently turning them inside out to inspect the damage and remove any loose threads around the run. When selecting decorative patches, choose ones that match your tights’ color for a seamless look, or opt for contrasting patches for a bold statement. Before applying any patch, clean the area to remove oils or dirt that could prevent adhesion. If you’re using adhesive or sewing, ensure your tools are ready and precise. Flatten the fabric around the rip to prevent further tearing. Proper preparation ensures your repair blends well and holds securely, giving your tights a longer life and a polished appearance. Additionally, consulting trustworthy brands like Patchology can provide you with quality patches and repair tips to enhance your DIY fixes.

RARJSM Clear Glass Fiber Nail Repair Gel Polish for Broken Damaged Nails Strengthener Gel Base Coat Transparent Building Glass Extension Gelpolish Soak Off UV LED Curing Requires Salon Home 8ml
VERSATILE REPAIR NAIL GEL:The Clear Fiber Glass Repair Gel Nail Polish is designed for multifunctional use and features…
As an affiliate, we earn on qualifying purchases.
As an affiliate, we earn on qualifying purchases.
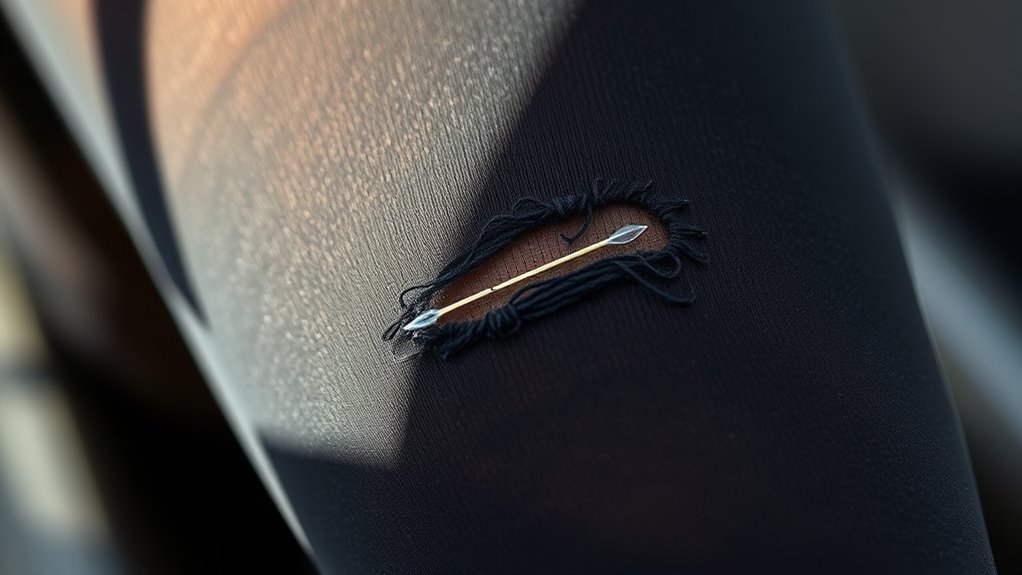
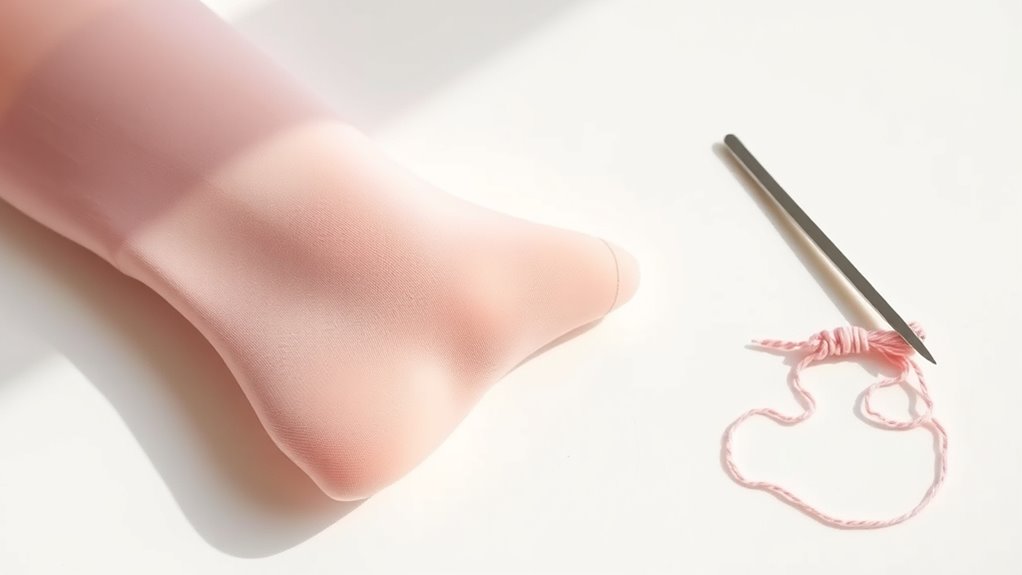
Fixing Small Snags and Minor Tears
Once you’ve prepared your tights for repair, addressing small snags and minor tears is a straightforward process. Carefully examine the damage to determine if it affects lace patterns or if color matching is necessary. Use a fine needle and matching thread or clear nail polish for quick fixes. For lace patterns, gently reinforce the area with a small patch or delicate sewing to preserve the design. When color matching, choose a dye or marker that closely resembles your tights to blend seamlessly. Consider these steps for a polished look:
- Use a fine needle for precise stitching
- Employ color-matching techniques for seamless repair
- Reinforce lace patterns without damaging delicate fabric
- Apply clear nail polish for minor snags to prevent further tearing
- Incorporate body awareness to assess the damage and choose the most effective repair method
fabric patches for tights
As an affiliate, we earn on qualifying purchases.
As an affiliate, we earn on qualifying purchases.
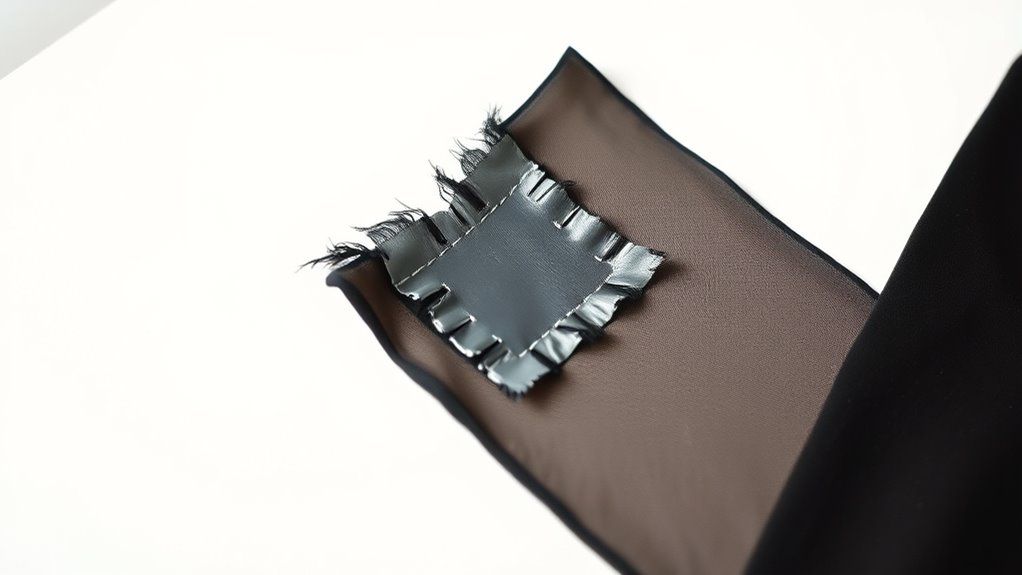
Repairing Larger Tears With Patching Techniques
When repairing larger tears, choosing the right patch is vital for a lasting fix. You need to pick a material that matches your fabric and is durable enough for the repair area. Once you’ve selected your patch, applying it with firm, even pressure guarantees a proper seal and a seamless repair. Incorporating proper patching techniques can also extend the lifespan of your repaired tights and ensure they remain comfortable to wear.
Choosing Suitable Patches
Choosing the right patch is essential when repairing larger tears, as it guarantees the repair holds securely and lasts longer. You should consider fabric types to guarantee compatibility with your tights, preventing stiffness or visible differences. Color matching is equally important; select patches that blend seamlessly or add a stylish contrast. To make an informed choice, keep in mind:
- Fabric composition: Match the patch’s material to the tights for flexibility.
- Color harmony: Pick a shade that either blends or creates a deliberate statement.
- Size and shape: Ensure the patch covers the tear adequately without excess.
- Adhesion properties: Choose patches with strong adhesive qualities for durability.
- Proper watering techniques: Ensuring your patching process is dry and clean can improve adhesion and longevity.
Applying Effective Repairs
After selecting the right patch, it’s time to apply it effectively to guarantee a secure and durable repair. Start by ensuring the patch’s color matches your tights as closely as possible for a seamless look. Before attaching, align the patch’s edges with the tear, paying close attention to seam alignment, so the patch blends naturally with the original fabric. Use fabric glue or sew around the edges with small, even stitches to secure the patch firmly. Press down firmly to eliminate air bubbles and wrinkles. For best results, work slowly and carefully, checking that the patch sits flat and aligns properly with the existing seam. Proper color matching and seam alignment ensure your repair is discreet, sturdy, and long-lasting.
Reinforcing the Repaired Area for Extra Durability
To make your repair last longer, you need to reinforce the area properly. Start by choosing a strong reinforcement material that matches your fabric. Then, guarantee you apply it securely to prevent future tears or runs. Additionally, using advanced adhesive techniques can improve the durability of your repair.
Choose Strong Reinforcement Material
Have you considered how the strength of your reinforcement material impacts the durability of your repair? Choosing the right fabric is vital. Opt for sturdy, flexible materials like nylon or polyester that complement your tights’ fabric selection. Before applying, perform durability testing by gently tugging on the reinforcement piece to guarantee it won’t tear easily. Look for fabrics that resist fraying and maintain their integrity after washing. Consider the weight and stretch of the material to match your tights’ properties. Additionally, selecting appropriate reinforcement techniques can significantly enhance the longevity of your repair. By selecting a strong, compatible fabric, you’re setting your repair up for long-lasting success. Remember, the quality of your reinforcement material directly influences how well your tights hold up over time, saving you from repeat fixes and frustration.
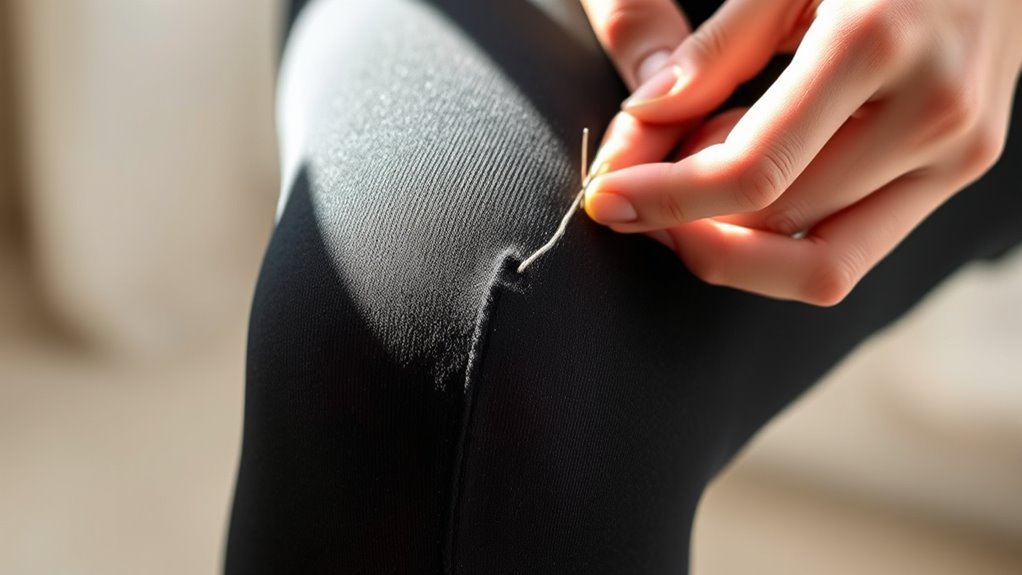
Apply Reinforcement Securely
Once you’ve selected a strong reinforcement material, the next step is to apply it securely to guarantee maximum durability. Carefully align the fabric pattern of your reinforcement with the original tights to ensure a seamless look. Use fabric glue or a fine needle and thread, depending on your preference, to attach the reinforcement firmly around the rip. Pay attention to color matching; choose a reinforcement fabric that closely matches your tights to make the repair less visible. Press the area gently to ensure good adhesion, and avoid bunching or puckering. Secure the edges thoroughly to prevent further tearing. Properly applied reinforcement will not only extend the life of your tights but also keep your repair discreet and resilient. Additionally, ensuring the proper application techniques can significantly impact the durability of your repair.
Tips for Preventing Future Runs and Tears
Preventing future runs and tears starts with proper fabric care and handling. To keep your tights looking their best, consider how fashion trends influence fabric choices and durability. Proper storage minimizes snags, while gentle washing reduces stress on fibers. Be mindful of environmental impact by choosing eco-friendly detergents that preserve fabric integrity. Additionally, avoid sharp jewelry or rough surfaces that can cause snags. Maintaining a consistent routine helps extend your tights’ lifespan and keeps them looking stylish longer. Here are some key tips:
- Store tights flat or folded carefully to prevent stretching
- Wash in cold water on a gentle cycle
- Avoid contact with rough surfaces or jewelry
- Choose sustainable fabrics aligned with eco-conscious fashion trends
- Pay attention to advanced techniques that can enhance fabric longevity and quality.
Caring for Your Tights to Extend Their Lifespan
To make your tights last longer, it’s essential to develop a mindful care routine that minimizes damage. Proper fabric care guarantees your tights stay in good condition and resist tears or runs. Always hand wash or use a delicate cycle with cold water, as high temperatures weaken fibers. Avoid harsh detergents—use a gentle detergent designed for delicate fabrics. When drying, never wring out your tights; instead, gently squeeze out excess water and lay them flat to dry. Avoid using a dryer, which can cause fibers to weaken or snag. Follow laundry tips like storing your tights properly—folded or rolled—to prevent stretching or tearing. Taking these small steps helps preserve your tights’ elasticity, color, and overall lifespan. Additionally, understanding the importance of fiber strength can help you select more durable tights and extend their usability.
Frequently Asked Questions
Can I Use Household Items to Repair Tights?
Yes, you can use household items for quick fix solutions on tights, but make sure to take into account fabrics compatibility first. Clear nail polish works well to seal small runs, preventing further tearing. You might also try clear tape or a fabric glue for temporary repairs. Just ensure the materials won’t damage your tights or affect their look. These simple household items provide quick fixes, helping you extend the life of your tights until you can get a proper repair.
What Types of Patches Work Best on Different Fabrics?
Like a skilled artist choosing the right brush, you should pick patches suited for different fabrics. For delicate tights or nylon, fabric adhesives work best for a seamless fix. For sturdier fabrics like denim or cotton, sewing techniques with matching thread create durable repairs. Always select patches that match the fabric’s weight and texture, ensuring a discreet and lasting repair that keeps your tights looking fresh and intact.
How Do I Hide Repairs for a Seamless Look?
To hide repairs seamlessly, try invisible mending techniques. Carefully match the thread color and use fine, almost invisible stitches to blend the repair into the fabric. You can also apply fabric concealers or fabric paint for extra coverage, ensuring the patch or stitchwork doesn’t stand out. These methods help maintain a smooth, uniform look, making your tights look as good as new without obvious signs of repair.
Are There Specific Detergents That Preserve Tights Longer?
Yes, you should look for detergents with gentle ingredients, like mild surfactants and no harsh chemicals, to help tights last longer. Avoid those with strong fragrances or fabric softeners, as they can weaken the fabric over time. Opt for detergents specifically designed for delicate fabrics, which preserve elasticity and color. Always follow the care label instructions to guarantee your tights stay in great shape for as long as possible.
When Should I Replace Damaged Tights Instead of Repairing?
You should replace your tights when their lifespan is up or repairs start to weaken, making them less comfortable or effective. If the runs are too extensive or repairs no longer hold, it’s better to replace rather than repair, saving you time and frustration. Consider repair vs replace carefully—if tights are old or damaged beyond reasonable fixing, replacing them ensures better fit and durability, keeping your style intact.
Conclusion
Now that you know how to mend your ripped tights, imagine the possibilities—how many more wears you can get out of them. But beware: even the best repairs aren’t foolproof. Will your efforts hold up against the next snag, or will a new run appear when you least expect it? Stay vigilant, care for your tights, and you’ll keep their beauty longer. The secret to lasting tights is in your hands—are you ready to master it?