To quickly fix small holes in tights by hand, gather fine needles, lightweight matching thread, and scissors. Turn the tights inside out, smooth out the fabric, and carefully thread the needle. Sew small, close stitches around the hole’s edge using zigzag or circular patterns, keeping tension even. Reinforce the repair with tiny stitches behind the hole for durability. Finish by tying secure knots, and you’ll have a nearly invisible mend—stay tuned to learn the exact techniques for a flawless repair.
Key Takeaways
- Turn the tights inside out, lay flat, and identify the small hole for easy access.
- Choose a fine, stretchable thread matching the tights’ color for a seamless repair.
- Use a sharp needle and small, even stitches around the hole’s edges to secure the fabric.
- Consider reinforcing the area with a tiny patch or additional stitches for durability.
- Finish by gently smoothing the fabric and checking the repair for invisibility and strength.

Capezio Women's Ultra Soft Transition Tight,Light Suntan,Small-Medium
Transition for a footed or footless tight option
As an affiliate, we earn on qualifying purchases.
Gathering Your Supplies
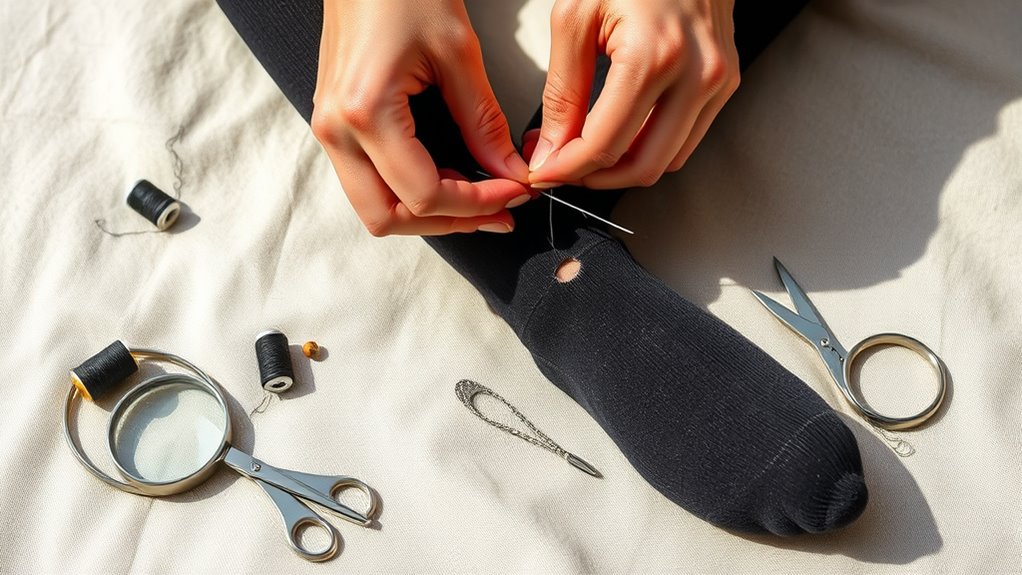
Before you begin repairing your tights, gather all the necessary supplies. Start by identifying the fabric type of your tights—whether they’re nylon, spandex, or a blend—so you choose the right thread and needle. Knowing the fabric composition can help you select the most suitable materials for a durable repair. Next, collect essential sewing tools: a fine needle suitable for delicate fabrics, sharp scissors, and a few pins or fabric clips to hold the tear in place. If you prefer a less visible fix, consider matching thread color closely to your tights. Having these supplies ready guarantees a smooth repair process. Keep everything within reach to avoid unnecessary delays. Being aware of fabric types and sewing tools can help you select the most suitable materials for a durable repair. Using the appropriate sewing techniques can also make your fix less noticeable and more secure. Incorporating proper tension and stitching methods can further enhance the strength and appearance of your repair. Understanding projector technology can help you choose the best tools for detailed and precise sewing. With the right fabric types and sewing tools at hand, you’ll be prepared to mend small holes efficiently, making your tights look almost new again.

Bloch Dance Women's Contour Soft Adaptatoe Tights, Bloch Tan, Small/Medium
Convertible styling allows the Dancer to wear the tight as footed or footless
As an affiliate, we earn on qualifying purchases.
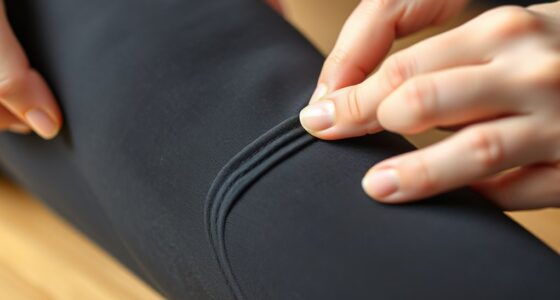
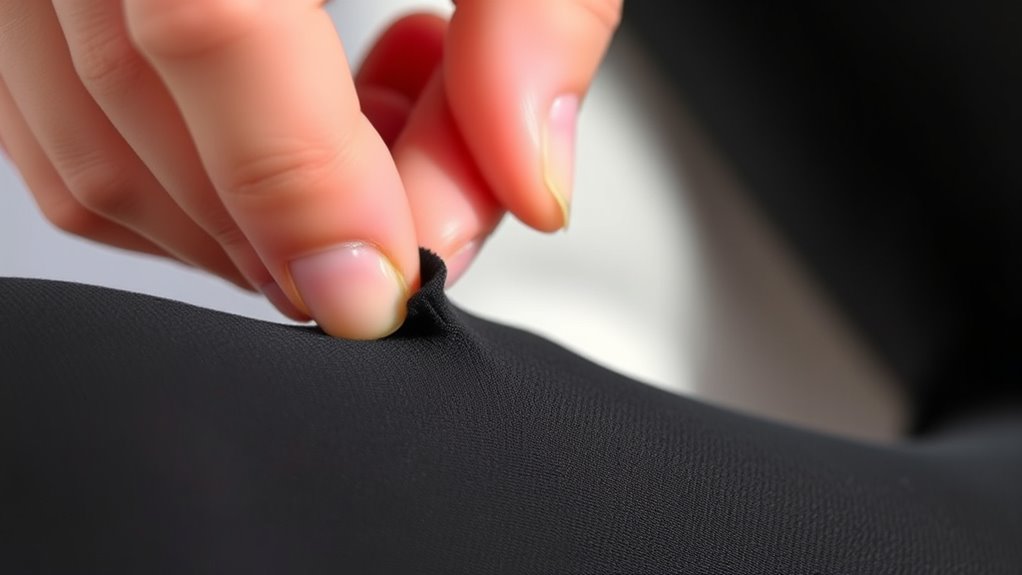
Preparing the Tights for Repair

To guarantee a seamless repair, start by turning your tights inside out and gently laying them flat. This allows you to access the damaged area easily. Begin fabric preparation by inspecting the fabric around the hole, removing any loose threads or frayed edges. If there’s a stain nearby, carefully treat it with a mild stain remover, then let it dry completely before sewing. Ensuring the fabric is clean and smooth makes sewing more precise and helps the repair blend seamlessly. Take your time to straighten out wrinkles or folds that might interfere with stitching. Proper preparation creates a solid foundation for your repair, making the sewing process smoother and ensuring the small hole is less noticeable once fixed. Additionally, verifying that the fabric is free from spoiled lemon juice or other contaminants can help maintain the integrity of your tights during repair. Using a professional-quality sewing needle can also improve stitching accuracy and durability. Incorporating gentle meditation techniques can help you stay focused and patient throughout the repair process. Developing proper sewing techniques can further enhance the quality and longevity of your fix. Remember that emotional support can be beneficial if you find the task frustrating or stressful, especially if you’re working with delicate fabric.

DANCEYOU Girls Ballet Tights Women Dance Stockings Skin Tone Convertible/Footed Opaque Tights for Toddler, Kids and Women Tan M
【DURABLE AND LONG-LASTING】DANCEYOU girls ballet tights are made with exceptional stretch and recovery. The high-quality spandex material making...
As an affiliate, we earn on qualifying purchases.
Choosing the Right Thread and Needle
Choosing the right thread and needle is key to a seamless repair. You’ll want a lightweight, stretchable thread that matches your tights, along with a fine needle that fits the fabric comfortably. Pay attention to color matching to make your mend less conspicuous and ensure your repair holds well. Additionally, selecting appropriate sewing tools can help in developing techniques that prevent accidental damage during repairs. Proper tools enhance precision and make the repair process smoother. Consulting security features of sewing tools or choosing quality brands can also reduce the risk of tool failure during delicate repairs. Using ergonomic handles can further improve comfort and control during sewing, especially for detailed work.
Thread Types for Tights
When repairing small holes in tights, selecting the right thread and needle is essential for a seamless, durable fix. For tights, choose lightweight types of sewing threads like polyester or nylon, which are strong yet thin enough to blend with the fabric. These are ideal because they won’t create bulk or be uncomfortable. Thread thickness options vary, so opt for fine, smooth threads that match the fabric’s delicacy. Avoid thick or bulky threads, which can make the repair noticeable and uncomfortable. Polyester threads are popular because they stretch with the fabric and resist wear. Using the appropriate thread type and thickness ensures your repair stays flexible and discreet, preventing further tearing and maintaining the tights’ original look. Additionally, selecting vibrational energy in your intentions can help align your repairs with a feeling of success and satisfaction. Incorporating proper material compatibility ensures the thread and fabric work harmoniously for a longer-lasting repair, as understanding fabric composition can further improve your sewing results. Being aware of fabric elasticity can also aid in choosing the most suitable thread for a smooth and resilient repair. Considering sewing technique can further enhance the durability of your mended tights, making the repair almost invisible to the naked eye.
Needle Size Selection
Selecting the right needle size is essential for a seamless repair that doesn’t damage the delicate fabric of your tights. Since tights are stretchy and lightweight, choose a fine, sharp needle like a size 70 or 80 to match their fabric elasticity. A sharp needle ensures clean punctures without causing unnecessary snags or tears. If the needle is too thick or dull, it can weaken the fabric and make your repair more noticeable. Conversely, a needle that’s too small may not penetrate the fabric properly. Focus on a needle with precise sharpness to glide smoothly through the material, maintaining its stretchability. Using a proper needle type designed for delicate fabrics helps prevent damage and ensures a neat repair. Proper needle size and sharpness help you sew small holes neatly and securely, preserving the tights’ appearance and flexibility.
Color Matching Tips
Ever wonder how to make your repair nearly invisible? The key is choosing the right thread and needle to match your tights perfectly. Start by evaluating your fabric color—look closely at the shade and undertones. Use dye matching if your tights are patterned or have unique hues; this helps blend the repair seamlessly. When selecting thread, pick one close to your fabric color, or opt for a slightly lighter shade if unsure. Here’s a quick guide:
| Fabric Color | Dye Matching Tips | Thread Choice |
|---|---|---|
| Black | Use black dye | Match thread color |
| Nude | Light beige dye | Light thread |
| Bright colors | Custom dye blend | Bright thread |
| Patterned | Dye to match pattern | Blend with pattern |
| Dark shades | Dark dye | Dark thread |
Matching fabric color and dye ensures your fix stays discreet.

SELEWARE Height Adjustable Ballet Barre Freestanding Ballet Bar Heavy Duty Dance Bar Support Barre Movements Body Stretch Pull-ups, Sturdy Construction Never Fall Apart, Anti-Slip
Constructed from alloy steel tubing and finished with matte black paint, this heavy-duty structure is built to last...
As an affiliate, we earn on qualifying purchases.
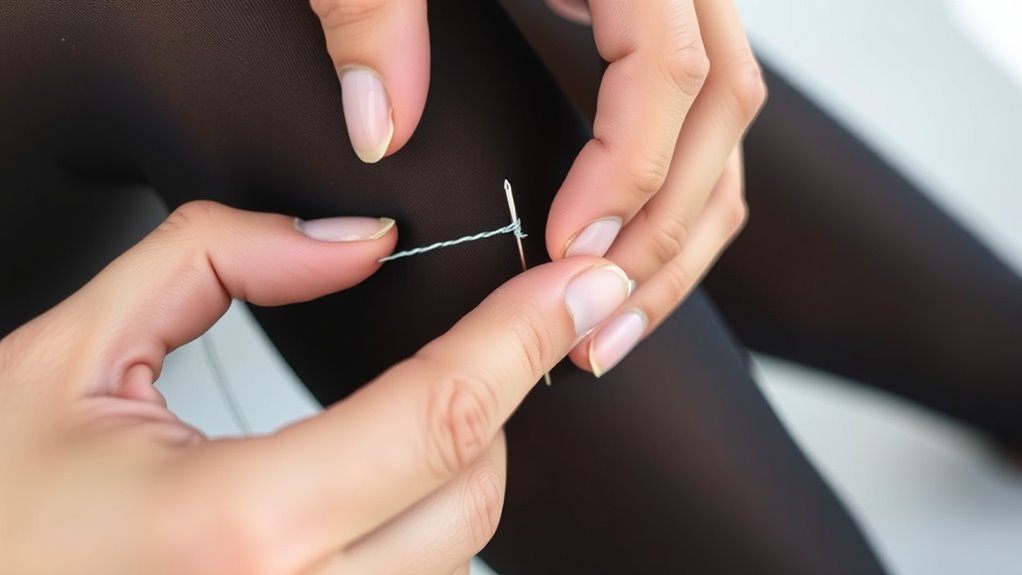
Threading the Needle Correctly

To guarantee your sewing stitches are secure and neat, it’s essential to thread the needle correctly. Start by choosing the right needle; a fine, sharp needle works best for tights, as it minimizes damage. When threading the needle correctly, cut a clean, short length of thread—about 18 inches—to prevent tangling. Moisten the end slightly or trim it at an angle to help it slide through the eye easily. Insert the thread through the needle’s eye, then pull a few inches through, doubling the thread for extra strength if needed. Make sure the thread is secure but not too tight. Proper threading ensures your stitches are even and reliable, making the repair less noticeable and more durable.
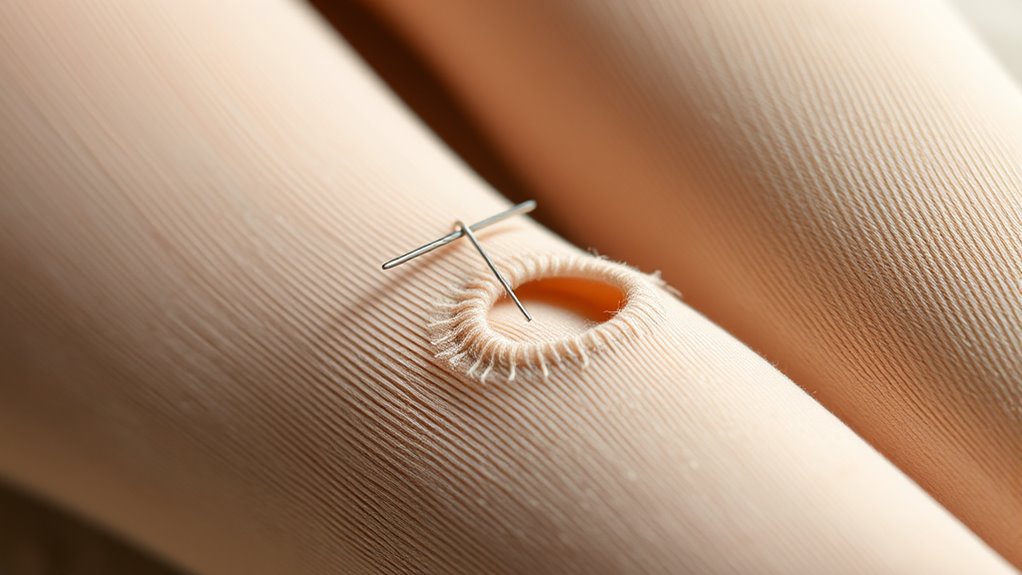
Positioning the Hole for Sewing
Before you start sewing, carefully position the hole so you can work comfortably and achieve a seamless repair. Confirm the fabric is flat and the hole is accessible, with the surrounding fabric slightly stretched to reduce puckering. Consider the hole size; larger holes need more fabric support for neat stitching. Proper positioning allows you to control fabric stretch, preventing uneven stitches and puckering. Use this table to understand the impact:
| Hole Size | Fabric Stretch |
|---|---|
| Small | Minimal stretch needed |
| Medium | Slight stretch for smooth edges |
| Large | Moderate stretch for support |
| Very Large | Significant stretch for stability |
Align the hole carefully to maintain fabric elasticity and avoid distorted stitches.
Making the Initial Stitch

When making the initial stitch, choose a thread that matches your tights for a seamless look and strong hold. Anchor the stitch securely to prevent it from slipping, and keep the tension even as you work to guarantee a smooth repair. Getting these points right sets a solid foundation for the rest of your mending process.
Thread Selection Tips
Choosing the right thread is essential for a seamless repair, especially when making the initial stitch. The thread should match your tights’ color and weight to blend in smoothly. Consider these tips:
- Use a fine, strong thread like polyester for durability without bulk.
- Opt for a color that closely matches your tights or a neutral shade for versatility.
- For small holes, decorative stitches can add strength and style—just avoid overly thick threads that may cause puckering.
If the tear is tricky, fabric glue can temporarily hold the fabric in place before you sew. Remember, the goal is a discreet fix, so choose thread and stitches that complement your tights without drawing attention.
Anchoring the Stitch
To begin anchoring your stitch, start by threading your needle with a small, secure knot at the end. This knot anchoring helps prevent your stitches from slipping out and provides stability. When sewing over the small hole, consider adding fabric reinforcement behind the tear if possible, giving extra support and preventing future fraying. Once your knot is secure, insert the needle into the fabric from the inside, near the edge of the hole, to hide the knot and keep it from catching on anything. Make your initial stitch gently but firmly, ensuring it catches both the fabric and the reinforcement if used. This initial stitch sets the foundation for a strong, durable repair that will blend seamlessly into your tights.
Maintaining Tension
Maintaining proper tension during your initial stitch is essential for a smooth and secure repair. Consistent tension ensures tension consistency and helps achieve stitch uniformity. To do this effectively:
- Keep the thread snug but not tight, avoiding puckering.
- Pull the needle through with steady, even pressure to maintain tension.
- Regularly check that the fabric stays flat and the stitches are even.
Focusing on these steps will help your stitches stay uniform and secure. Consistent tension prevents gaps or loose stitches that could weaken the repair. Remember, the key is to keep the tension steady throughout the initial stitch and subsequent stitches, ensuring your repair looks neat and holds well. Proper tension control makes all the difference in a professional-looking fix.
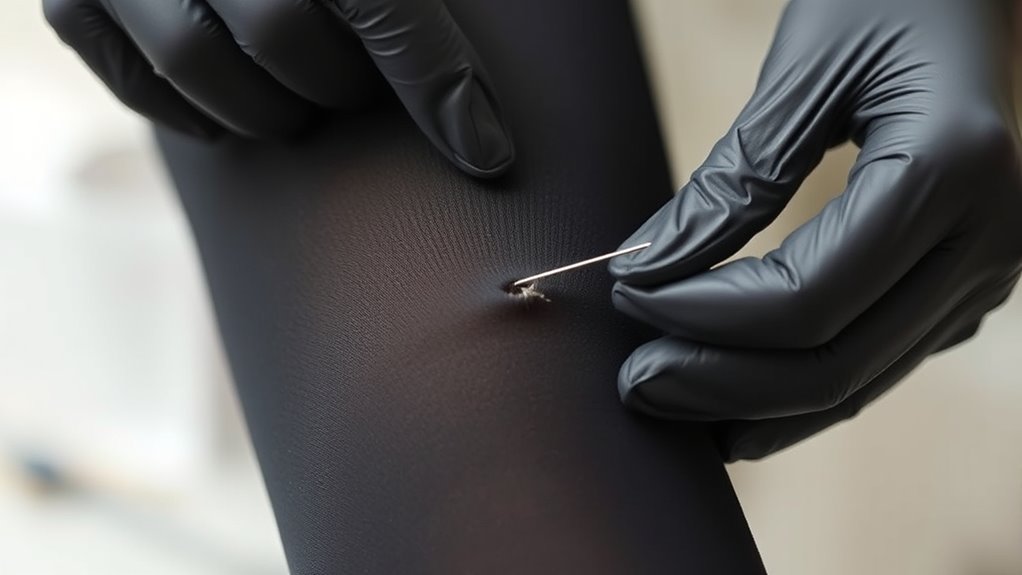
Securing the Repair With Reinforcement Stitches
Once you’ve threaded your needle with matching thread, it’s important to reinforce the repair to guarantee it holds securely. Use reinforcement stitches around the edges of the small hole to strengthen the area and prevent further tearing. These stitches help with seam stabilization, ensuring the fabric stays intact during wear and washing. Make small, tight stitches close to the edge of the tear, working in a circular or zigzag pattern to lock the fabric in place. Avoid pulling too tight to prevent puckering. Reinforcement stitches add durability and stability, making your patch less likely to unravel over time. This step is essential for a long-lasting fix that keeps your tights looking neat and intact after multiple wears.
Finishing and Securing the Thread

After completing your reinforcement stitches, it’s important to finish the repair by securing the thread properly. Proper finishing techniques guarantee your stitches stay intact and look neat. Here’s what you should do:
- Create a small knot close to the fabric to lock your stitches in place securely.
- Trim the excess thread close to the knot, leaving about a quarter-inch to prevent unraveling.
- Hide the tail by gently slipping it into the nearby stitches, then pull tight to secure the thread out of sight.
Using these finishing techniques guarantees your repair is durable and neat. Properly securing stitches prevents the thread from unraveling over time, giving your tights a cleaner, more professional look.
Tips for a Nearly Invisible Repair
To achieve a nearly invisible repair, selecting the right color and type of thread is essential. Match the thread to your tights’ fabric types, considering their stretch and sheen. Use fine, nylon or polyester threads for elastic fabrics, which blend seamlessly. Employ small, tight stitches with precise sewing techniques, such as a whip stitch or ladder stitch, to minimize visibility.
| Fabric Types | Sewing Techniques |
|---|---|
| Sheer nylon | Use tiny stitches, close together |
| Opaque tights | Keep stitches aligned with the weave |
| Ribbed or textured | Follow the pattern with careful tension |
Frequently Asked Questions
Can I Fix Larger Holes With This Method?
If you’re wondering whether you can fix larger holes using DIY patching, the answer is yes, but it might not look as seamless. For bigger tears, DIY patching can work temporarily, but for a durable, professional repair, it’s better to seek expert help. Professional repairs guarantee your tights look good and last longer, especially if the hole is large. Consider your needs and choose the best option for a clean finish.
Is Hand-Sewing Suitable for All Types of Tights?
You wonder if hand-sewing suits all tights. It mostly depends on fabric compatibility and your sewing skill level. Thin, delicate fabrics like nylon or spandex can be tricky, but with patience, you can fix small holes. If you’re experienced, hand-sewing works well for most tights. However, for very fragile or intricate fabrics, a professional repair might be better. Always match your stitches to the fabric for the best results.
How Long Does a Hand-Sewn Repair Typically Last?
Think of your repair as a tiny ship sailing through rough waters; its durability and longevity depend on your craftsmanship. Typically, a hand-sewn patch in tights can last several wears, but factors like thread quality and sewing precision matter. If done well, your fix can withstand multiple cycles of wear and washing, giving your tights a second life. Proper care can extend this tiny ship’s journey across many adventures.
Should I Wash Tights Before Repairing Them?
You should wash your tights before repairing them, as a pre-wash recommendation helps remove dirt and oils that can interfere with sewing. Plus, it makes stain removal tips easier if any marks are present. Washing also softens the fabric, making it easier to handle. Just use gentle detergent and avoid fabric softeners to keep the tights in good shape for a neat, lasting repair.
Can I Use This Method on Colored or Patterned Tights?
Did you know that 65% of people worry about mismatched repairs? You can use this method on colored or patterned tights, but it requires careful color matching and pattern alignment. To get the best results, pick thread that closely matches the tights’ color and align the pattern as precisely as possible. This way, your repair stays discreet and blends seamlessly, keeping your tights looking fresh and stylish.
Conclusion
With your quick fix, those tiny holes in your tights become mere memories, fading like whispers in the wind. By following these simple steps, you transform a small tear into a seamless repair, restoring your tights’ beauty and longevity. Think of your needle as a magic wand, turning frays into flawless fabric. Now, every time you mend, you’re not just fixing tights—you’re weaving confidence and cleverness into every stitch.