
To start knitting your own legwarmers, gather soft yarn and the right needles, then measure your calves and ankles for a perfect fit. Learn basic techniques like casting on, knitting a ribbed cuff, and building the main body with pattern choices. Add personal touches like beads or labels, and finish with proper care tips to keep them looking great. Keep exploring for detailed instructions and creative ideas to create unique, cozy accessories.
Key Takeaways
- Gather appropriate yarn, needles, and tools; organize materials for an efficient knitting process.
- Take accurate measurements of calves and ankles to ensure a comfortable, well-fitting pair of legwarmers.
- Learn basic knitting techniques: casting on, ribbing, and creating the main body with pattern variations.
- Personalize your legwarmers with cultural motifs, embellishments, and unique details for a custom look.
- Care for your finished legwarmers by following proper washing, storage, and maintenance practices.

SELEWARE Height Adjustable Ballet Barre Freestanding Ballet Bar Heavy Duty Dance Bar Support Barre Movements Body Stretch Pull-ups, Sturdy Construction Never Fall Apart, Anti-Slip
Constructed from alloy steel tubing and finished with matte black paint, this heavy-duty structure is built to last...
As an affiliate, we earn on qualifying purchases.
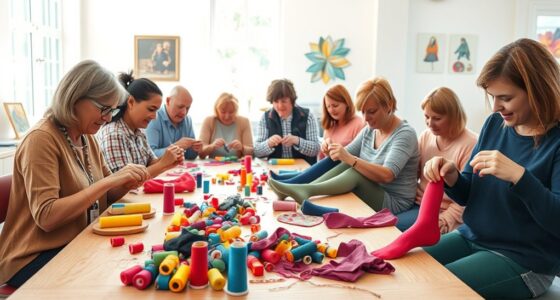
Gathering Your Supplies and Tools
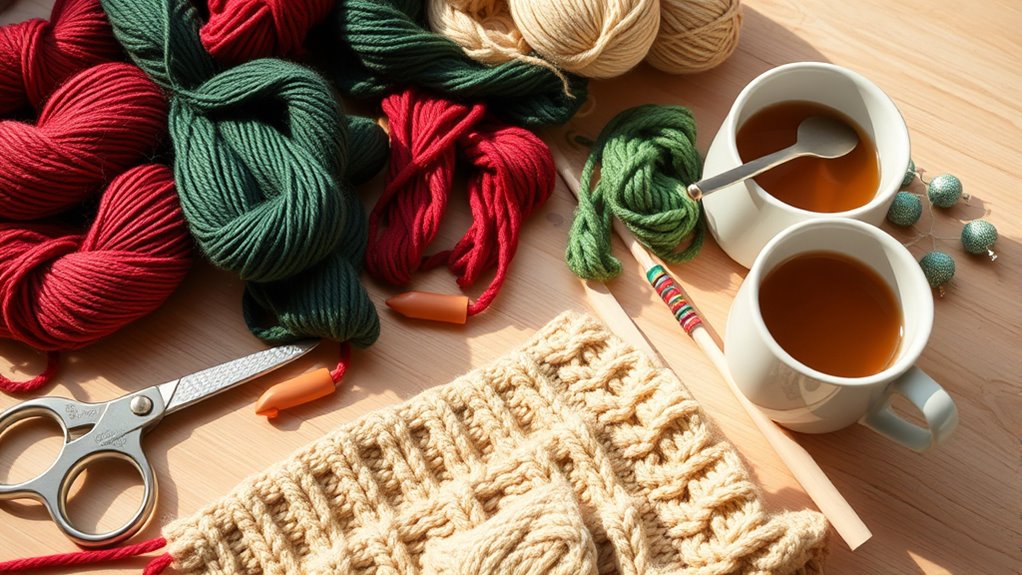
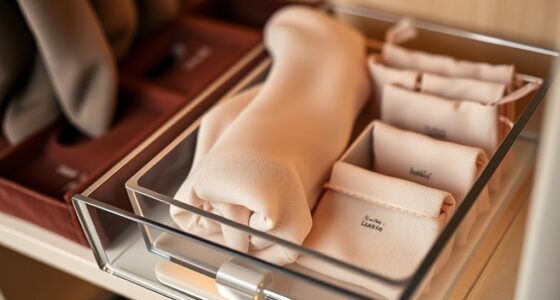
Before you start knitting your legwarmers, it’s important to gather all the necessary supplies and tools. Begin with your fiber selection, choosing yarns that suit your style and comfort. Opt for soft, durable fibers like wool blends or acrylic, and consider the color and texture you want. To keep everything organized, set up effective storage solutions—small bins or zippered bags work well for storing yarn and tools, preventing tangles and messes. Having a dedicated space for your supplies makes your knitting process smoother. Make sure to gather knitting needles, scissors, stitch markers, and a tapestry needle. Preparing these essentials beforehand guarantees you won’t interrupt your work to find misplaced items, making your project more enjoyable and efficient from the start. Additionally, understanding knitting tools and techniques can significantly improve your crafting experience and results.

NO Wobble, 5FT Portable Ballet Barre Bar, Adjustable Freestanding Double Ballet Barre for Girls Kids & Adults, Stable Bar for Stretching, Studio Dancing, Home Workout, Max Load 350lbs
Safety & Stable Structure —— The extended triangular base minimizes wobble during workouts, and the 4 non-slip rubber...
As an affiliate, we earn on qualifying purchases.
Choosing the Perfect Yarn and Needle Size

How do you select the best yarn and needle size for your legwarmers? Start by considering fiber textures—smooth, soft fibers like wool blends or acrylic work well for warmth and comfort. Thicker yarns create chunkier, more cozy legwarmers, while thinner fibers produce a delicate look. When choosing needles, focus on ergonomics: comfortable, well-shaped needles reduce hand fatigue, making knitting easier. For thicker yarns, larger needles (size 8-10) are ideal, while smaller needles (size 3-5) suit finer fibers. Always check your yarn label for recommended needle sizes, and don’t hesitate to experiment with different textures and needle types to find what feels best for you. Picking the right fiber and needles ensures your legwarmers turn out cozy and enjoyable to knit. Additionally, understanding Glycolic Acid Benefits for Skin can help you maintain healthy skin after knitting sessions.

New & Improved 4 Ft Steel Double Ballet Barre with Carry Bag and Beginner Guide,Adjustable&Portable Ballet Barre for Home and Gym,Quality Ballet bar Anti-Wobble,Stretching Dance bar (Steel, White)
Premium Quality: Our updated and improved 4 ft high quality Ballet Barre is specifically designed to provide the...
As an affiliate, we earn on qualifying purchases.
Taking Measurements and Casting On

To guarantee your legwarmers fit comfortably, start by taking accurate measurements of your calves, ankles, and the length you want them to cover. Use measuring techniques like wrapping a flexible tape measure snugly around each area, ensuring it’s level and not too tight. Write down these measurements carefully. Once you have your measurements, choose an appropriate cast on method. For a stretchy fit, consider the long-tail cast on or the elastic cast on. If you prefer a looser fit, a simple cast on might work better. The cast on sets the foundation for your knitting, so pick a method that matches your desired fit and comfort. Taking precise measurements and selecting the right cast on method will make knitting your legwarmers smoother and ensure a perfect fit. Additionally, understanding how to measure accurately can help you achieve a more professional and comfortable result.
UMEKEN Ballet Barre Bar Portable 4 Ft Adjustable Freestanding Dance Bar for Home, Kids Fitness Stretching Exercise Double Bar with Carry Bag (Silver, 4 FT)
🩰【Enhanced Stable Construction】 Constructed by premium rustproof steel and high quality fasteners, the bottom feet along with the...
As an affiliate, we earn on qualifying purchases.
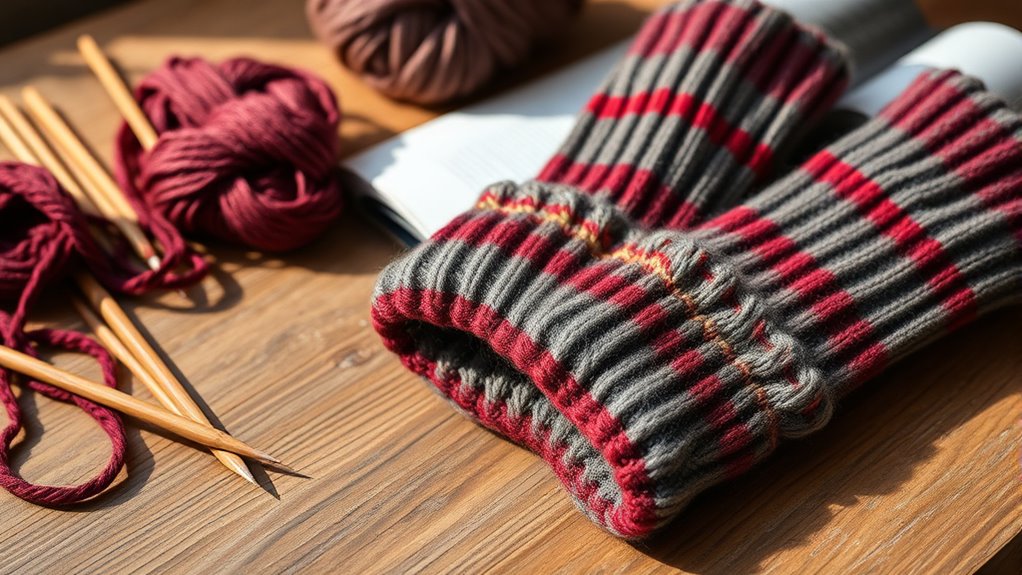
Knitting the Ribbed Cuff
Before you start knitting the ribbed cuff, make sure you’ve chosen the right yarn that’s stretchy and comfortable. Mastering the rib stitch is essential, as it creates a snug fit and adds texture to your legwarmers. Once you’re confident with these points, you’ll be ready to create a professional-looking cuff. Additionally, understanding color accuracy can help ensure your finished project has the vibrant, true-to-life hues you desire.
Choosing the Right Yarn
Choosing the right yarn is essential for creating a snug, comfortable ribbed cuff that stays in place. You should consider fiber texture, as softer fibers like wool or acrylic provide flexibility and comfort, while sturdier textures like cotton or blends add structure. Yarn durability is also important; you want a yarn that holds up over time without stretching out or fraying easily. Look for yarn labeled for accessories or with a medium weight (worsted or aran), which helps maintain the cuff’s elasticity. Avoid very slick or slippery fibers, as they can cause the ribbing to lose its shape. Selecting a high-quality, durable yarn guarantees your legwarmers will stay cozy and well-shaped through repeated wear. Additionally, choosing a yarn with good elasticity ensures the ribbed cuff remains snug and elastic over time.
Mastering the Rib Stitch
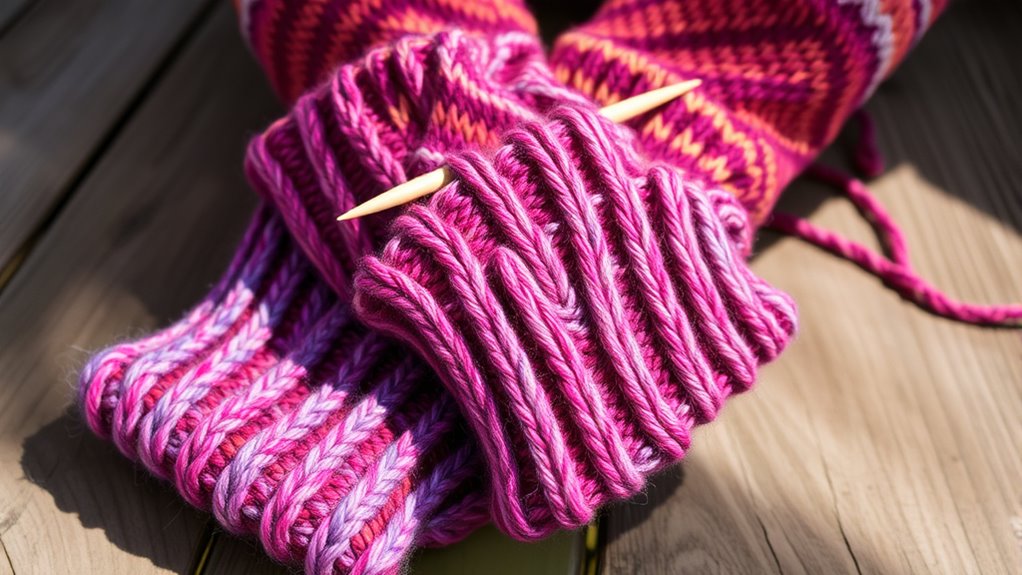
Mastering the rib stitch is essential for creating a flexible, snug cuff that stays in place. To achieve this, practice stretching techniques that help you maintain even tension, ensuring a professional look. The rib stitch naturally provides elasticity, so focus on consistent tension between knit and purl stitches. When experimenting with color blending, alternate yarn colors within your rib pattern to create subtle gradients or bold contrasts, adding visual interest to your legwarmers. Keep your edges tight but flexible, allowing for comfortable movement. As you become more comfortable with the technique, you’ll notice how the rib stitch enhances the fit and appearance of your cuffs. Additionally, understanding the best yarns for highlighted hair can help you choose colors that complement your knitting projects if you want to incorporate color accents. With patience and practice, you’ll master this fundamental stitch and elevate your knitting projects.
Continuing With the Main Body of the Legwarmers
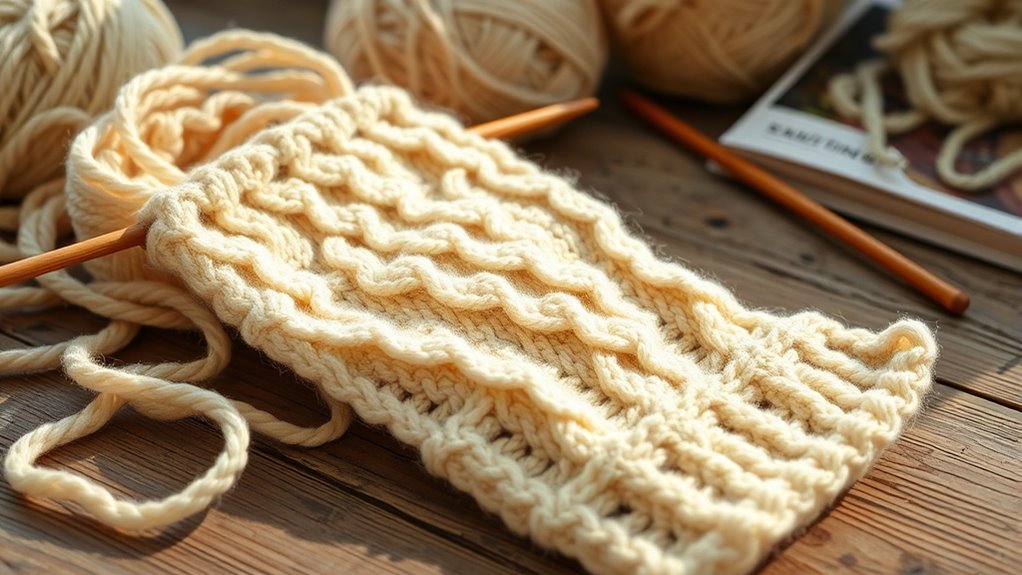
Are you ready to plunge into the main section of your legwarmers? Now, you’ll focus on building the body, where decorative techniques and pattern variations shine. First, keep knitting in your chosen stitch pattern, whether it’s stockinette, garter, or something more textured. Second, to add visual interest, experiment with pattern variations like stripes or color changes. Third, incorporate decorative techniques such as cable twists or lace panels for flair. As you progress, measure your legwarmer length to guarantee even shaping. Remember, maintaining consistent tension helps keep your pattern uniform. This stage is all about personalizing your project, so enjoy playing with different styles and details. When you’re satisfied with the length, you’re ready to move toward finishing touches! Incorporating decorative elements can elevate your legwarmers and infuse them with unique style.
Binding Off and Finishing Touches
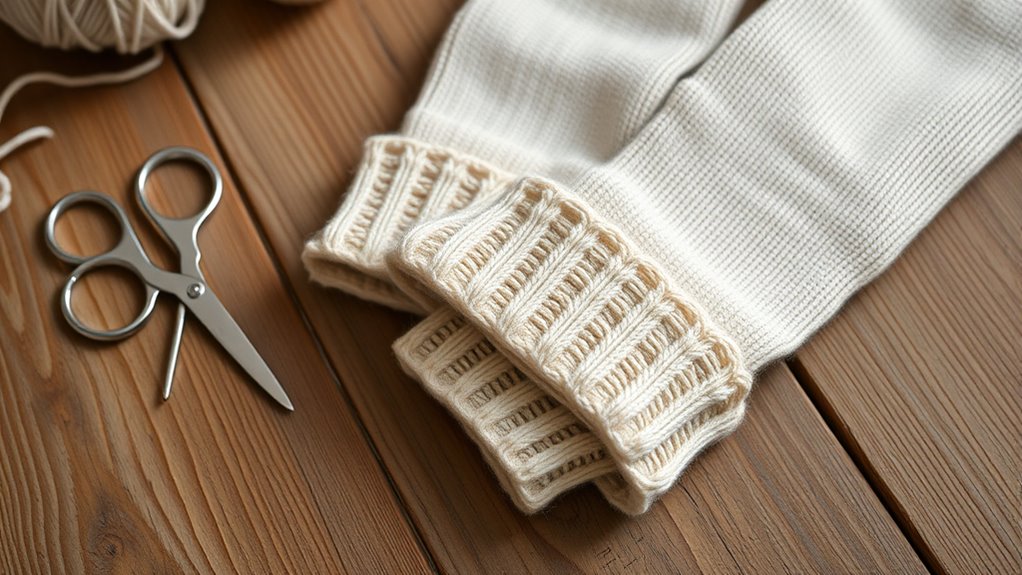
Once you’ve completed the main body of your legwarmers and are satisfied with the length and pattern, it’s time to finish your project by binding off. To do this, knit two stitches, then lift the first stitch over the second and off the needle. Continue this process across the row to secure your edge. Proper binding off guarantees a clean, stretchy edge, essential for comfort and fit. After binding off, you can add decorative trimming, such as a row of ribbing or a simple crochet border, to give your legwarmers a polished look. Edge finishing not only enhances durability but also adds a personal touch. Take your time to ensure the edge is even and neat, and your legwarmers will be ready for wear! Using the appropriate yarn types and techniques can help achieve a professional finish.
Adding Personal Touches and Customizations

Adding personal touches makes your legwarmers truly unique. You can choose bold or subtle yarn colors, embellish with beads, or attach custom labels. These details help reflect your style and make your project one-of-a-kind. Incorporating cultural significance into your design can also add a meaningful dimension to your handmade accessories.
Choosing Unique Yarn Colors
Choosing unique yarn colors allows you to infuse your legwarmers with personality and style. To create eye-catching designs, consider how color blending can smoothly progress between shades, adding depth. You can also play with pattern contrast by pairing bold colors with muted tones to highlight stitch patterns. Here are some tips:
- Select a color palette that reflects your personality, mixing vibrant and neutral shades.
- Use color blending for gradual transitions or ombre effects that add visual interest.
- Experiment with pattern contrast by contrasting bright hues against darker backgrounds, making stitches stand out.
- Incorporate color theory principles to choose harmonious or striking combinations that enhance your design.
These choices help customize your project, making your legwarmers truly one-of-a-kind. The right color combinations elevate your knitting, turning simple stitches into a personal statement.
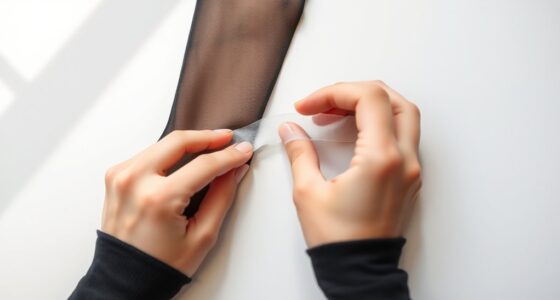
Embellishing With Beads
Incorporating beads into your legwarmers instantly elevates their style and adds a personal touch. Start by deciding on bead placement—consider placing them along the edges, scattered across the fabric, or in patterns that complement your design. Use simple embellishment techniques like threading beads onto yarn before knitting or sewing them onto finished pieces. When adding beads during knitting, incorporate them at specific intervals for a consistent look. For sewn-on embellishments, secure each bead firmly to prevent slipping. Be mindful of the weight beads add, ensuring they don’t sag or cause discomfort. Experiment with different sizes, colors, and arrangements to create a unique, eye-catching effect. With thoughtful bead placement and embellishment techniques, your legwarmers will showcase your personal style beautifully.
Adding Personal Labels
Ever thought about giving your legwarmers a truly personal touch? Adding personal labels is a simple way to showcase your style and make your creation unique. You can create custom style tags or labels that reflect your personality or the theme of your project. Here are some ideas to get started:
- Sew on small fabric tags with your initials or a special message.
- Attach decorative stickers or patches with your favorite patterns or quotes.
- Use a fabric marker to write a personal slogan or name directly onto the legwarmers.
These personal labels not only add a special touch but also make your legwarmers one-of-a-kind. Incorporate these customizations to express your creativity and make your handmade piece truly yours.
Tips for Caring for Your Handmade Legwarmers
Proper care is essential to keep your handmade legwarmers looking their best and lasting longer. Follow care instructions carefully, especially when washing and storing them. To maintain their shape and softness, hand wash in cold water with gentle detergent and lay flat to dry. Avoid wringing or twisting, which can distort the fibers. When storing, keep your legwarmers in a cool, dry place away from direct sunlight. Use the following table for quick care tips:
| Care Tips | Storage Tips | Common Mistakes |
|---|---|---|
| Hand wash with gentle detergent | Store flat to prevent stretching | Ignoring washing instructions |
| Lay flat to dry | Keep in breathable bag | Hanging to dry |
| Avoid high heat | Avoid plastic containers | Using hot water |
| Gently reshape if needed | Store away from sharp objects | Overstuffing storage |
| Use mild detergents | Keep away from moisture | Ignoring fiber type |
Frequently Asked Questions
Can I Use Recycled or Eco-Friendly Yarns for Legwarmers?
Absolutely, you can use recycled or eco-friendly yarns for your legwarmers. Eco-friendly materials like organic cotton, bamboo, or hemp are great choices, offering softness and sustainability. Recycled yarn options, such as those made from plastic bottles or old textiles, also work well and reduce waste. Using these sustainable fibers not only benefits the environment but also adds a unique, textured look to your finished legwarmers.
What Are Common Mistakes to Avoid When Knitting Legwarmers?
Many knitters believe avoiding gauge issues and uneven tension is unnecessary, but they’re mistaken. To prevent common mistakes, you should check your gauge regularly and maintain consistent tension throughout. This helps ensure your legwarmers fit well and look professional. Rushing or pulling too tightly can cause uneven stitches, so take your time. Being mindful of tension and gauge helps you craft beautiful, well-fitting legwarmers every time.
How Do I Fix a Dropped Stitch in My Project?
When you notice a dropped stitch, first carefully pick it up with a crochet hook or knitting needle. Be gentle to avoid tension issues that can distort your project. Once fixed, check if your tension is consistent to prevent future mistakes. If needed, make pattern adjustments to tighten or loosen stitches. Regularly inspecting your work helps catch dropped stitches early, ensuring your legwarmers stay smooth and even.
Are There Alternative Stitches for a Different Texture?
Think of your knitting as a painter’s palette—you can choose different strokes to create textured patterns. Instead of standard stitches, try alternative stitches like seed stitch, cable, or moss stitch for unique textures. These textured patterns add depth and interest to your project, much like a masterpiece. Experimenting with these stitches allows you to customize your legwarmers and develop your knitting skills, making each piece truly one-of-a-kind.
How Can I Make My Legwarmers More Stretchable?
To make your legwarmers more stretchable, you should choose stretchable yarns like elastic blends or stretchy wool. Incorporate knitting techniques such as using a larger needle size or adding ribbing stitches, like k1, p1, at the edges. These methods help create a flexible, snug fit. Experiment with different stitch patterns and yarns to find the perfect balance of stretch and comfort for your legwarmers.
Conclusion
With patience and practice, you’ll craft cozy, personalized legwarmers that last. Don’t worry if your first pair isn’t perfect—each project teaches you new skills. Remember, even seasoned knitters improve with time, so enjoy the process and celebrate your progress. Your handmade legwarmers aren’t just stylish accessories; they’re a rewarding expression of creativity. Keep knitting, experimenting, and adding your unique touch—you’ll be amazed at what you can create with a little effort!